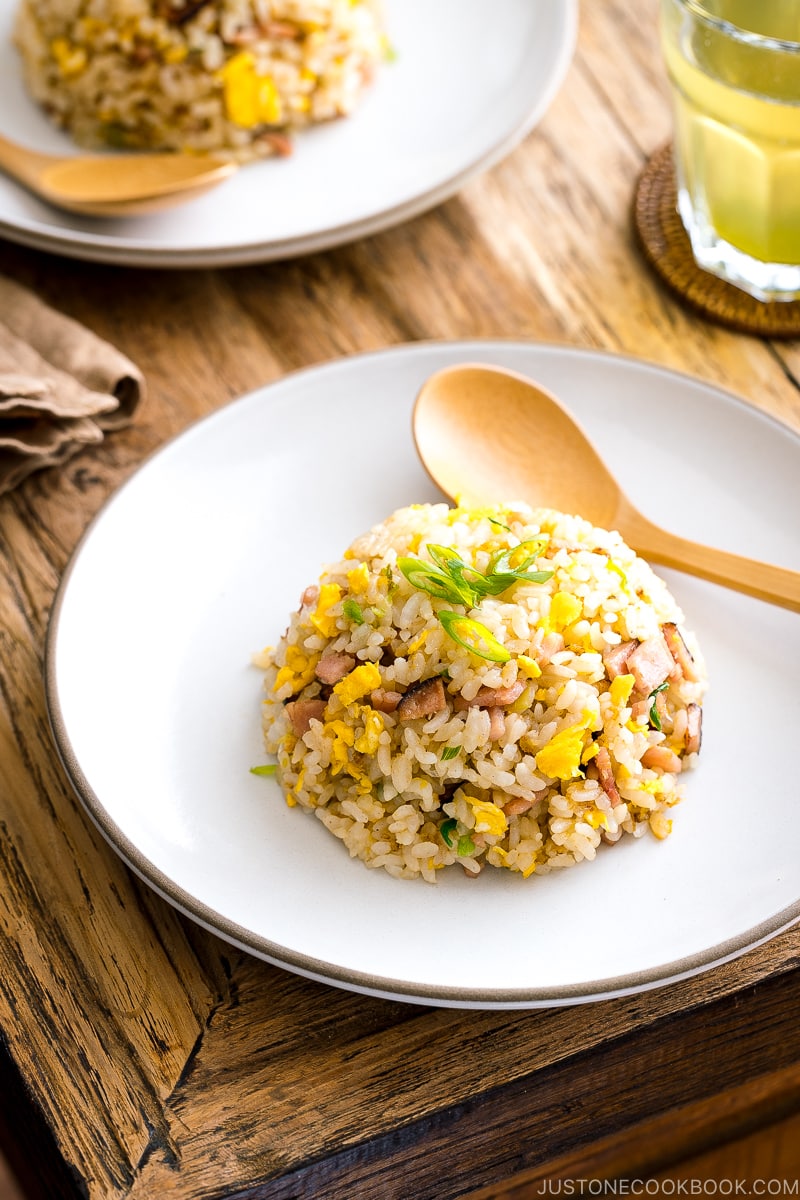
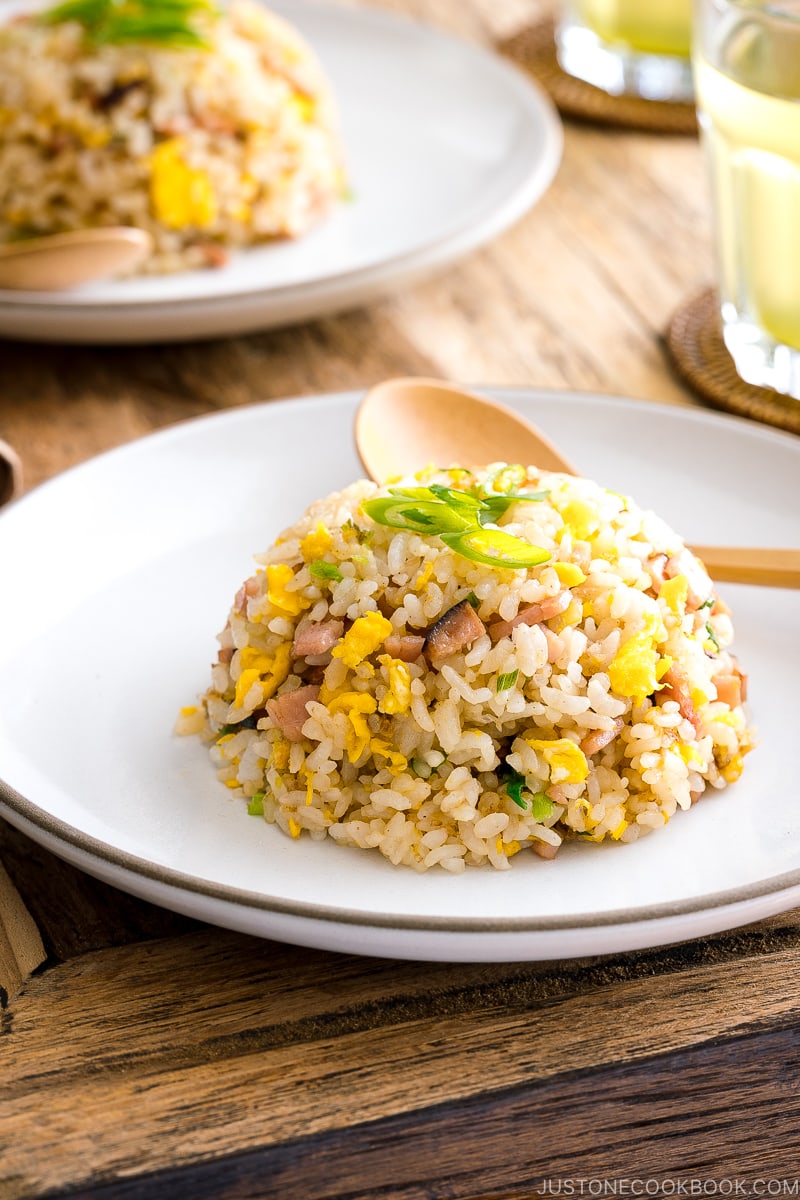
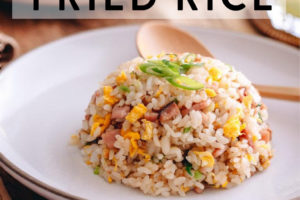
This classic Japanese Fried Rice (Yakimeshi) with ham, egg, and green onion is a delicious one-pan meal that you can whip up in under 20 minutes. It’s bursting with flavor and perfect for a weeknight meal.
Whenever I need to get lunch or dinner on the table fast, fried rice often comes to mind. With just a few well-chosen ingredients in the pantry and leftover rice, I’d be ready to cook up a satisfying meal in less than 20 minutes.
So, when you are thinking of takeout to solve your dinner problem, remind yourself that it’s always a better idea to make fried rice at home. With this Japanese Fried Rice (Yakimeshi) recipe, you are guaranteed a delicious dinner that comes together quicker than you can say “takeout delivery.”
Table of Contents
What is Japanese Fried Rice?
Almost every Asian country has its own version of fried rice, and so does Japan. It’s a clever way of repurposing leftover rice by frying it with veggies, eggs, or whatever meat/protein in a wok or pan.
In Japan, we call Japanese fried rice chahan (チャーハン) or yakimeshi (焼き飯).
Chahan vs Yakimeshi
We commonly use both terms interchangeably and there are a few explanations out there, but I believe the actual differences might have gotten mixed up and blurred. Here are a few observations:
Chahan チャーハン
- Chahan is the Japanese transliteration of the Chinese-style fried rice “chao fan” (炒饭). The name reflects the fact that fried rice originated in China; Chinese immigrants introduced it to Japan in the nineteenth century.
- Typically served at Japanese-Chinese restaurants in Japan.
- Eggs are cooked first before adding the rice.
- Seasoned mostly with salt.
- People in Tokyo region commonly use the term ”chahan” for fried rice.
Yakimeshi 焼き飯
- Yakimeshi translates to “pan-fried rice” or “fried cooked rice,” just like Yakisoba or Yaki Udon.
- Eggs are cooked after adding the rice.
- Typically seasoned with soy sauce. In Osaka, fried rice seasoned with Worcestershire sauce is called Sauce Yakimeshi (ソース焼き飯).
- People in the Osaka region commonly use the term yakimeshi for fried rice.
Japanese Fried Rice vs Chinese Fried Rice
The main difference is that Japanese fried rice uses only Japanese short-grain rice, which is plump and sticky and has a higher moisture content, so it gives a slightly sticky, chewy, toothsome texture. Chinese fried rice or other Asian fried rice typically uses long-grain rice such as Jasmine rice, so you’ll find the texture tends to be on the drier side.
I sometimes come across hibachi fried rice recipes online and I do want to point out that these are only available at hibachi or teppanyaki restaurants in the US, not in Japan. The concept of hibachi has somehow been misinterpreted and become mainstream for American-Japanese restaurants. I wrote more about it in my Teppanyaki post.
4 Tips to Make the Best Yakimeshi
1. Use Day-Old Rice or Let Cool Freshly Cooked Rice
Day-old, leftover rice that‘s dried out slightly in the refrigerator is the perfect vehicle for making fried rice because it is more firm and has no excess moisture. Just make sure to bring the leftover, cold rice to room temperature so it is easier for you to crumble and fry the rice in the wok.
If you have to use freshly cooked rice, you’ll need to cook the rice earlier. Once cooked, spread the rice out in a baking sheet at the counter to cool it and let the moisture evaporate. Hot rice will easily turn into mush, so this helps to keep the rice intact and fluffy.
2. Less is More for the Case of Fried Rice
A good bowl of fried rice is about simplicity. When I first made fried rice in college, I tossed in way too many ingredients that my fried rice was more like a fried plate of a mish-mash. The rice had no space to move around and it ended up with big chunks of rice with overloaded vegetables and proteins.
So less is best. Rice is the key ingredient; keep the rest minimal. Use a big wok or a pan with sufficient space to toss and turn the ingredients, and give each grain of rice enough contact with the heat. If you have too much food, your fried rice will stick together like a giant mess.
Also, keep the veggies and meat/protein in smaller sizes so they will cook nicely together with the rice.
3. Make Fluffy Eggs First
Everyone has a different method to cook fried rice. Mine always starts with making fluffy eggs.
Pour the beaten eggs into a pool of hot oil, and let the oil cook up the eggs first. When the bottom of the egg is set but the top is not yet fully cooked, take it out.
Then, you can cook the other ingredients and rice, followed by the fluffy egg back into the wok or pan. It’s a fail-proof method for everyone.
4. Don’t Be Shy of Oil
If you want to achieve restaurant-quality fried rice, we’re going to need a good amount of oil. Fried rice should not taste oily, but it needs sufficient oil to circulate heat and flavor.
What is the Best Rice Cooker
Day-old rice is best for yakimeshi, I like to use my Zojirushi NP-NWC10XB Rice Cooker to make mine in advance. It makes fluffy rice every time, and it’s the best Japanese rice cooker I’ve ever used! You can get it on Amazon for $458.29, and it’s well worth it if you cook a lot of rice.
Basic Seasonings for Yakimeshi
I use only three condiments to season my fried rice.
- Salt
- White pepper powder
- Soy sauce
To make it gluten-free, I used Kikkoman®’s Gluten-Free Tamari Soy Sauce. Kikkoman®’s soy sauce is known for its appealing aroma and rich color that stimulate the appetite. Their soy sauce works great when you add heat to it.
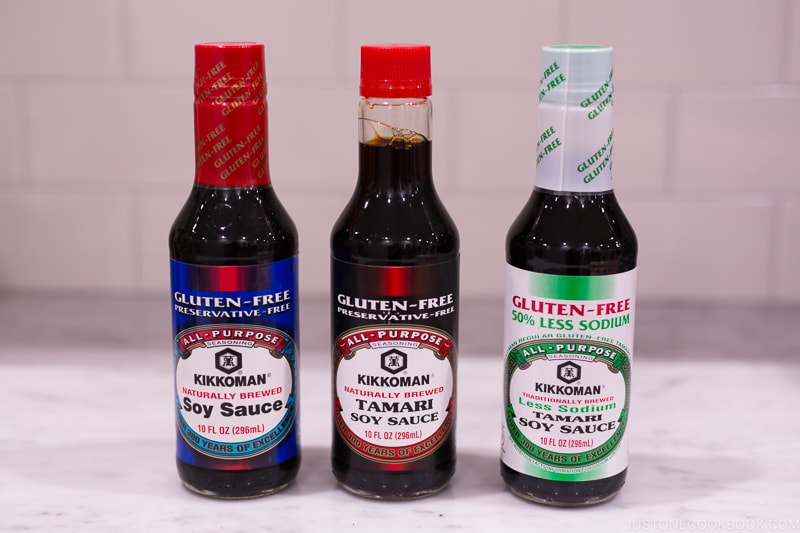
Fried rice cooked with Kikkoman®’s soy sauce adds a distinctly savory aroma, which lasts longer than other soy sauces. If you pack this fried rice in your children’s bento or your bring-to-work lunch box, you will get to enjoy the fried rice several hours later.
If you do not have to make this recipe gluten-free, feel free to use regular soy sauce (I use Kikkoman® Organic Soy Sauce).
Common Ingredients for Japanese Fried Rice
For the most basic yakimeshi, we use Japanese short-grain rice, eggs, and ham, and garnish with green onion. However, fried rice is all about infinite possibilities! So you can use my basic yakimeshi recipe and customize it to your liking. I listed some common ingredients for Japanese fried rice below, but you can use whatever you have in the fridge. Keep your concoction simple. 3-4 ingredients will suffice.
- Chashu pork belly (See Chashu Fried Rice)
- Chicken
- Chinese sausage
- Crab
- Edamame
- Eggs
- Green onion
- Green peas
- Ground pork
- Ham
- Iceberg lettuce (my favorite!)
- Kimchi (see Kimchi Fried Rice)
- Salmon (see Salmon Fried Rice)
- Shrimp (see Shrimp Fried Rice)
- Takana (see Pickled Mustard Greens Fried Rice (Takana Chahan))
Other Popular Japanese Rice Dishes
- Japanese Garlic Fried Rice
- Japanese Fried Rice with Edamame, Tofu and Hijiki Seaweed
- Omurice (Japanese Omelette Rice)
- Oyakodon (Chicken and Egg Bowl)
Wish to learn more about Japanese cooking? Sign up for our free newsletter to receive cooking tips & recipe updates! And stay in touch with me on Facebook, Pinterest, YouTube, and Instagram.
Easy Japanese Fried Rice (Yakimeshi)
Video
Ingredients
- 2 servings cooked Japanese short-grain rice (1¾ cups, 12 oz; cooled; day-old rice, preferably; see below to use freshly cooked rice)
- 1 green onion/scallion
- 2 slices ham
- 1 large egg (50 g each w/o shell)
- 2 Tbsp neutral oil (divided)
- ½ tsp Diamond Crystal kosher salt
- ⅛ tsp white pepper powder (a must-have for my fried rice!)
- 2 tsp soy sauce (I use Kikkoman® Gluten Free Tamari Soy Sauce)
Instructions
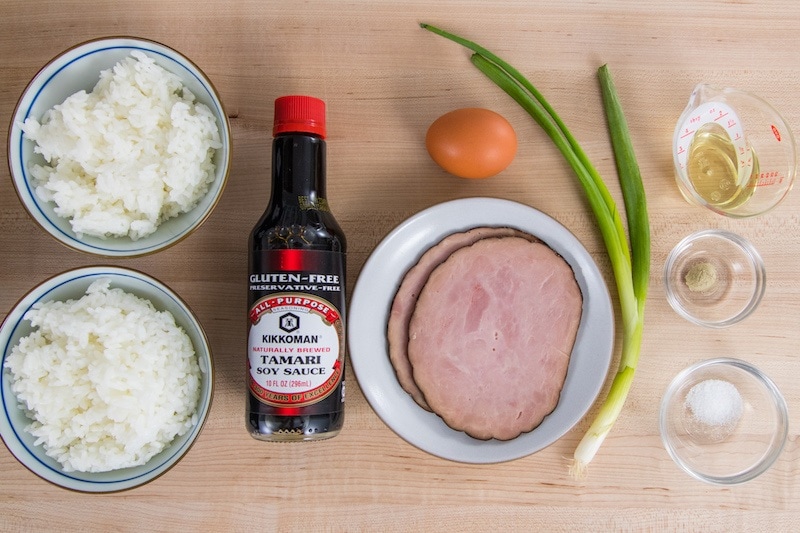
- Gather all the ingredients. If you haven‘t prepared the rice yet, cook 1 rice cooker cup of Japanese short-grain rice and cool it using my instructions in the next step. 1 rice cooker cup (180 ml, ¾ US cup, 150 g) of uncooked rice yields roughly 2 servings or 1¾ US cups (330 g) of cooked rice, which is enough for 2 Japanese rice bowls.
To Prepare the Ingredients
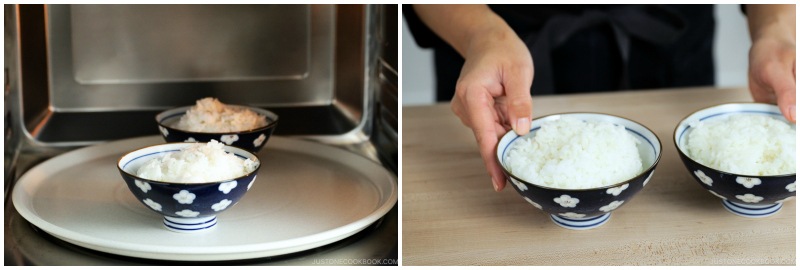
- To prepare 2 servings cooked Japanese short-grain rice that is day-old, remove it from the refrigerator and heat it in the microwave until it‘s room temperature or slightly warm. If you are using freshly cooked rice, transfer the hot rice to a baking sheet. Spread it out and let it cool completely. This will remove the moisture from the rice.
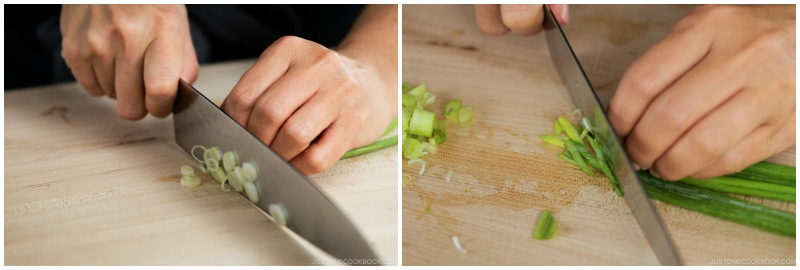
- Cut the white part of 1 green onion/scallion into rounds and the green part diagonally. Keep the white and green parts separate and set aside. Reserve a few green slices for the garnish.
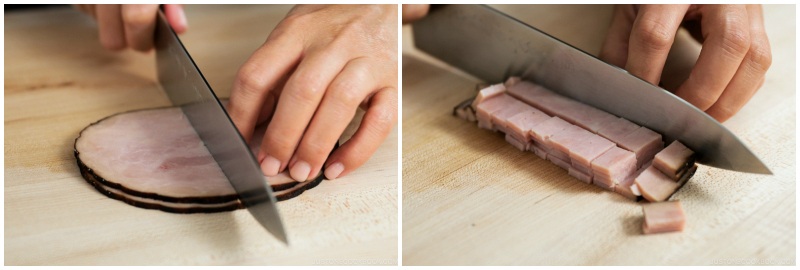
- Dice 2 slices ham into square pieces ½ inch (1.3 cm) wide.
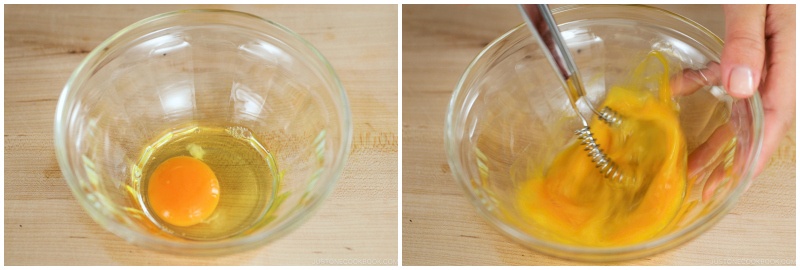
- Crack and whisk 1 large egg (50 g each w/o shell) in a bowl.
To Cook the Fried Rice
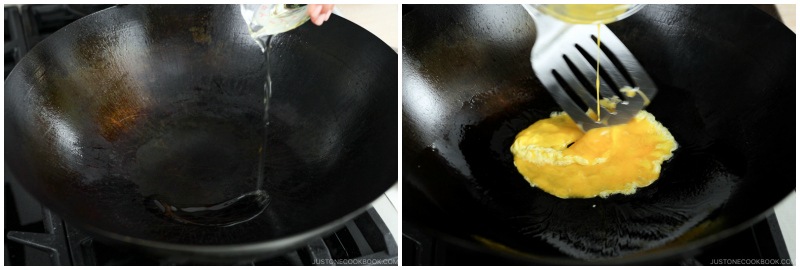
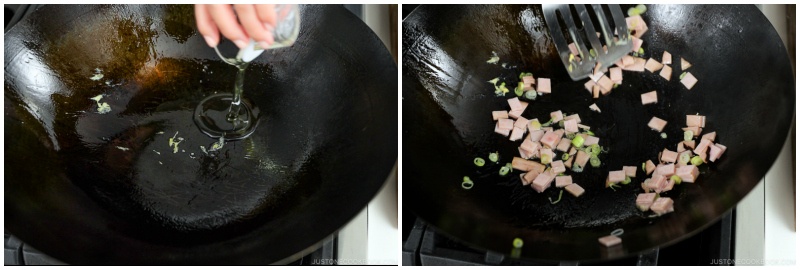
- Make sure all the ingredients are prepped and ready to go, as this dish cooks quickly. Heat the wok (or a large frying pan) on medium-high heat. Once it’s hot, add half of the 2 Tbsp neutral oil and swirl it around to make sure it coats the entire surface of the wok. Add the beaten egg to the hot wok. After a few seconds, the egg will start to float on top of the oil.
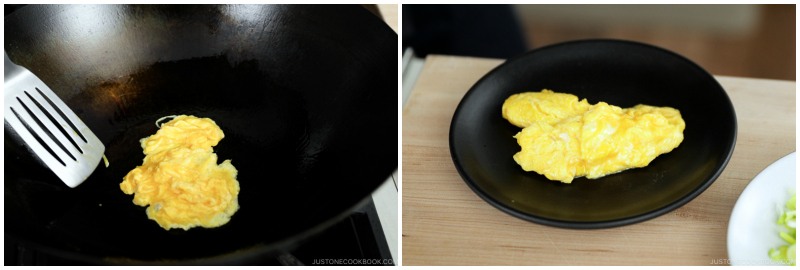
- With the blunt end of a spatula, swirl the loosely set egg around the pan to keep it fluffy while continuing to cook it. When the bottom of the egg is set but the top is still a bit runny and not quite fully cooked, transfer it to a plate. We do not want to overcook the egg at this stage.
- Add the other half of the oil to the pan. Then, add the ham and white part of the chopped green onion. Stir-fry and coat well with the oil.
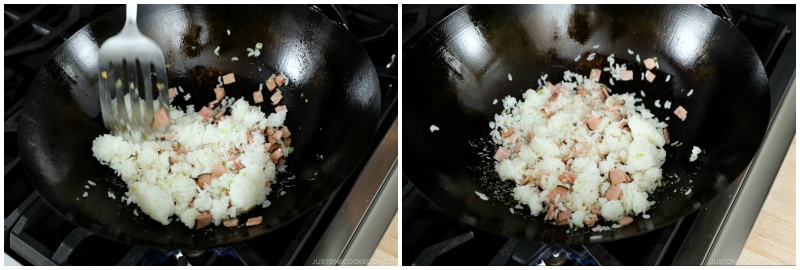
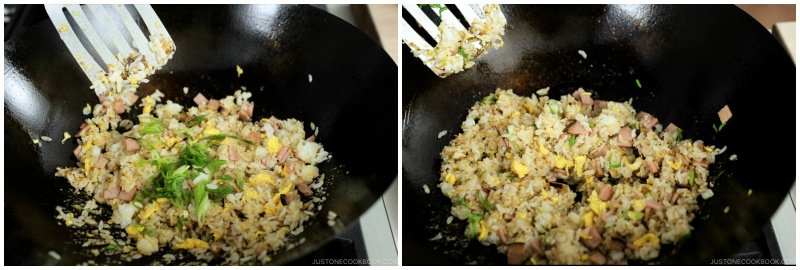
- Add the cooked and cooled rice to the wok. With the spatula, use a slicing motion to separate the rice clumps without mashing or breaking the rice grains. Combine it with the ham mixture and continue to toss the rice so it is coated with oil and develops a nice char.
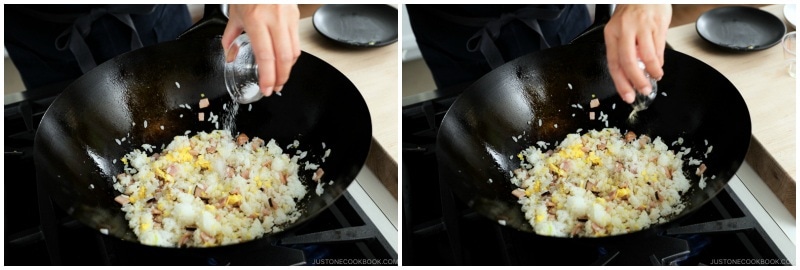
- Add the cooked egg back to the wok and break it into smaller pieces while you combine it with the rice. If some of the rice sticks to the wok (it happens when there‘s not enough oil), you can scrape it off easily if you‘re using a well-seasoned or nonstick wok. This creates a nice charred flavor. You may need to add more oil if you‘re using a stainless steel pan, as the rice tends to stick more.

- Season the rice with ½ tsp Diamond Crystal kosher salt and ⅛ tsp white pepper powder.
- Add 2 tsp soy sauce and toss to distribute it throughout the rice. The key action here is to continuously toss the fried rice in the air to keep it from clumping instead of leaving it a sticky mass clustered at the bottom of the wok. Turning and tossing the rice in the air also helps develop a smoky flavor.
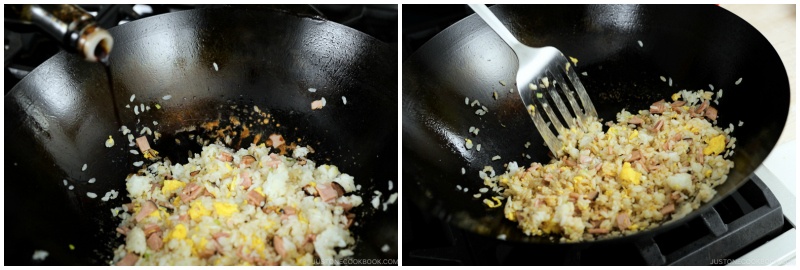
- Add the green part of the chopped green onion. Taste the fried rice and adjust the seasoning if needed. After tossing the rice a few more times, transfer it to a plate.
To Serve
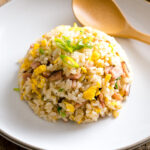
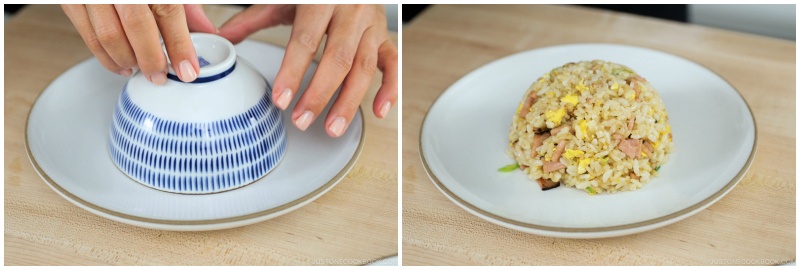
- Fried rice at Chinese restaurants in Japan is often served in a dome shape. If you‘d like to serve it this way, fill a rice bowl with the fried rice, pat it down lightly to compact it, and invert it onto a plate. Fill the rice bowl again for the other plate. Sprinkle the reserved sliced green onion on top, and serve.
To Store
- You can store the leftovers in an airtight container and keep in the refrigerator for up to 2 days and in the freezer for up to a month.
Nutrition
Editor’s Note: This post was originally published on November 16, 2018. The post has been updated with more information and republished in March 2022.


My mom was also from Yokohama. I have missed her cooking so much. Thanks for this recipe. I cooked it as written and it came out great. Tastes like mom’s plus incredibly easy.
Hello, Kevin. Aww. We’re happy to hear you enjoyed Nami’s recipe!
We hope this recipe brings comfort and fond memories of Mom’s delicious Yakimeshi!🫶🏻
I’m half Japanese and half American and miss my mom’s fried rice. I never can cook like she can. This video helped me learn how to make it.
Hi, Jennifer! We’re delighted to hear Nami’s recipe and video were helpful!
Thank you for trying her recipe and for your kind feedback. Happy cooking!