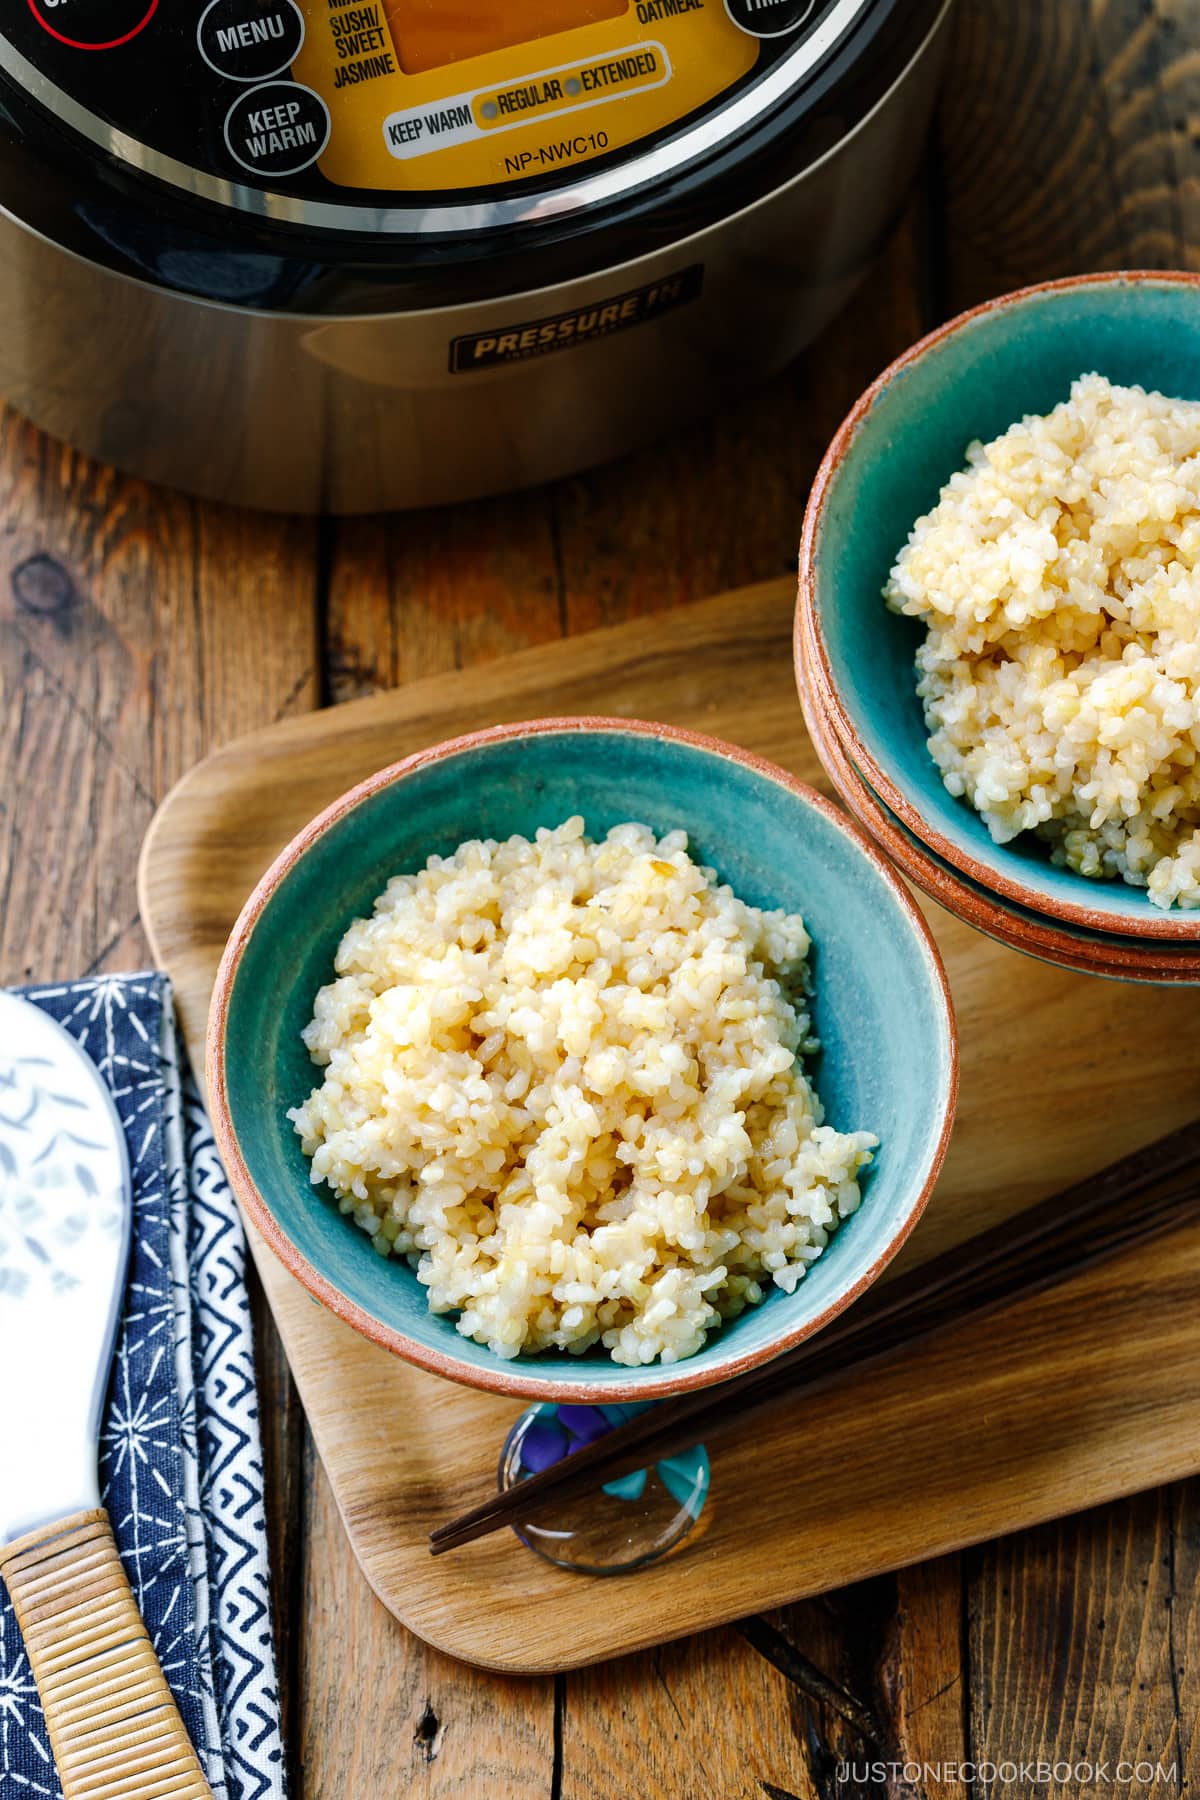
Learn how to cook Japanese short-grain brown rice in a rice cooker (pot on the stove option included). Follow my rice-to-water ratio tips to make perfectly steamed brown rice every time. No more mushy or dry rice!
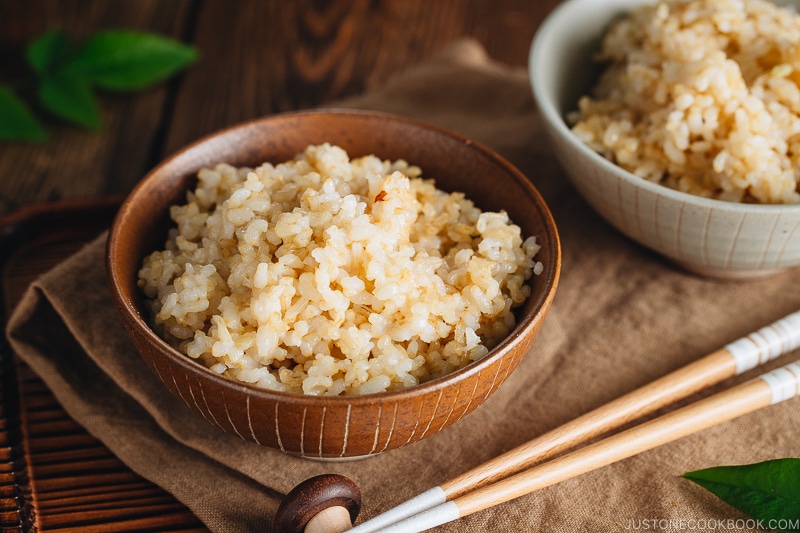
Japanese short-grain brown rice or Genmai (玄米) is a great alternative to short-grain white rice when you seek better health. Many people enjoy brown rice for its high fiber and nutritional value. With its chewy texture and slightly nutty flavor, it’s also satisfying and delicious!
Today, I’ll share the right ratio of rice and water for Japanese short-grain brown rice, and how to rinse the rice and cook it properly in a rice cooker.
Table of Contents
- What is Japanese Brown Rice?
- How to Use Brown Rice in Japanese Recipes
- My Favorite Japanese Rice Brands
- The Right Rice-to-Water Ratio for Short-Grain Brown Rice
- How to Cook Japanese Short-Grain Brown Rice
- How Much Rice Do I Need to Cook
- Cooking Tips
- The Best Way to Store Cooked Rice
- Other Methods of Cooking Japanese Brown Rice
- FAQs
- My Favorite Rice Cooker
What is Japanese Brown Rice?
Japanese brown rice is a type of Japonica short-grain rice that is short, plump, and rounded oval. Brown rice is the unpolished kernel with the inedible outer hull removed. With the layer of bran and germ left intact, brown rice has more nutritional benefits compared to polished Japanese white rice.
In general, Japanese rice has a higher water content compared to long-grain varieties like basmati or jasmine rice. This means that Japanese rice is more tender and moist. It‘s also more sticky and chewy because the grains contain less amylose—a type of starch that separates rice grains—than long-grain rice.
However, Japanese brown rice is not as sticky as Japanese white rice and has a rougher texture. Because of this, some may find it difficult to eat. It is not recommended for small children and the elderly who may have difficulty digesting whole grains.
It’s worth noting that outside of Japan, Japanese short-grain rice is often called “sushi rice” for marketing purposes. You may see Japanese brown rice referred to as “brown sushi rice.” In reality, Japanese brown rice is typically used in everyday meals and less often in sushi recipes.
You may also notice that Japanese short-grain rice has been incorrectly called “sticky rice.” Sticky rice is actually another name for glutinous rice or short-grain Japanese mochigome. We use this type of glutinous rice to make Mochi, Sekihan, and Okowa.
👉🏻 To brush up on your knowledge, I highly recommend reading “Everything You Need to Know about Japanese Rice” and “Types of Japanese Rice.“
How to Use Brown Rice in Japanese Recipes
There are no specific Japanese recipes that would call for brown rice, but it’s more likely used as a healthy replacement for white rice. The majority of people find it hard to transition from white rice to brown rice directly, so it’s common to mix white rice and brown rice together to cook first, starting from 2 parts white rice to 1 part brown rice, then slowly transitioning to 1:1, then finally brown rice on its own. (More about cooking mixed rice below.)
You may have seen brown rice used in sushi, sushi rolls, and rice balls outside of Japan, but it is not common in Japan and there are not many places where you can request brown rice. At this time, most of the brown rice usage is still in the home-cooking environment.
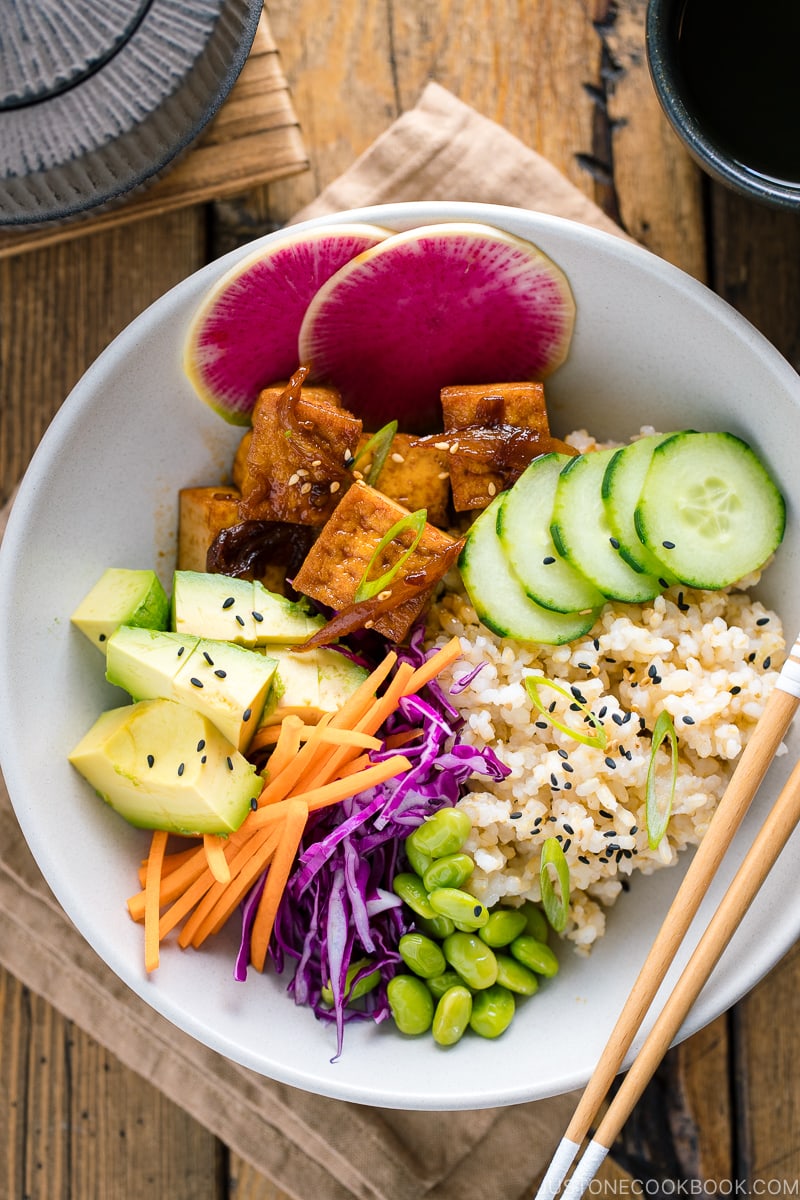
You can definitely use brown rice to make donburi (rice bowl) dishes, such as Oyakodon, Gyudon, Katsudon, and Vegan Poke Bowl, and rice dishes like Japanese Chicken Curry and Yakimeshi (Fried Rice).
My Favorite Japanese Rice Brands
When it comes to high-quality Japanese rice, I would recommend the Koshihikari variety, which is available from various brands at Japanese grocery stores. Known for its sweet taste and fragrance, it is the most popular variety in Japan.
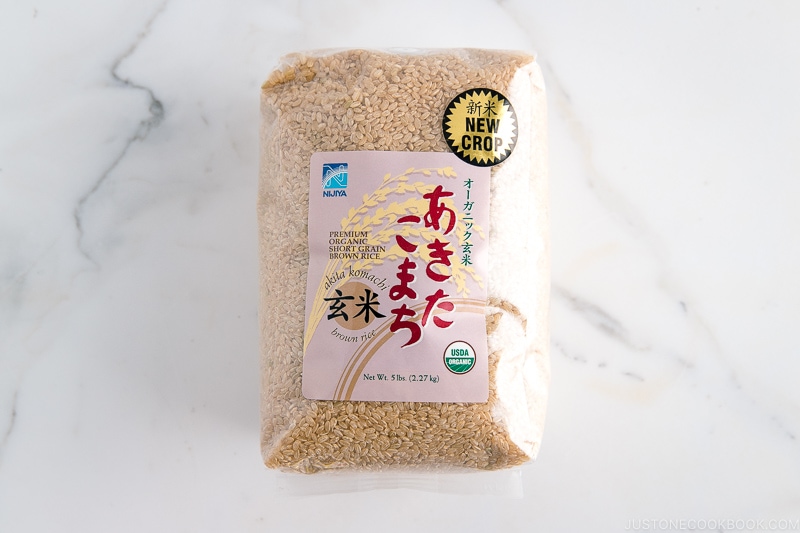
For US-grown Koshihikari brown rice, we enjoy Genmai Sukoyaka Brown Rice and Koshihikari Premium Sprouted Brown Gaba Rice. If you live close to Nijiya Market, you can also look for Akita komachi brown rice.
There are also other new cultivars such as Hitomebore, Akitakomachi, Tamanishiki, Tsuyahime, and so on. Each of them has unique characteristics that are different from Koshihikari.
The Right Rice-to-Water Ratio for Short-Grain Brown Rice
The golden ratio for brown rice to water is 1 to 1.6 (or 1.7) for Japanese short-grain brown rice.
So… Exactly how much water do you need for each rice cooker cup?
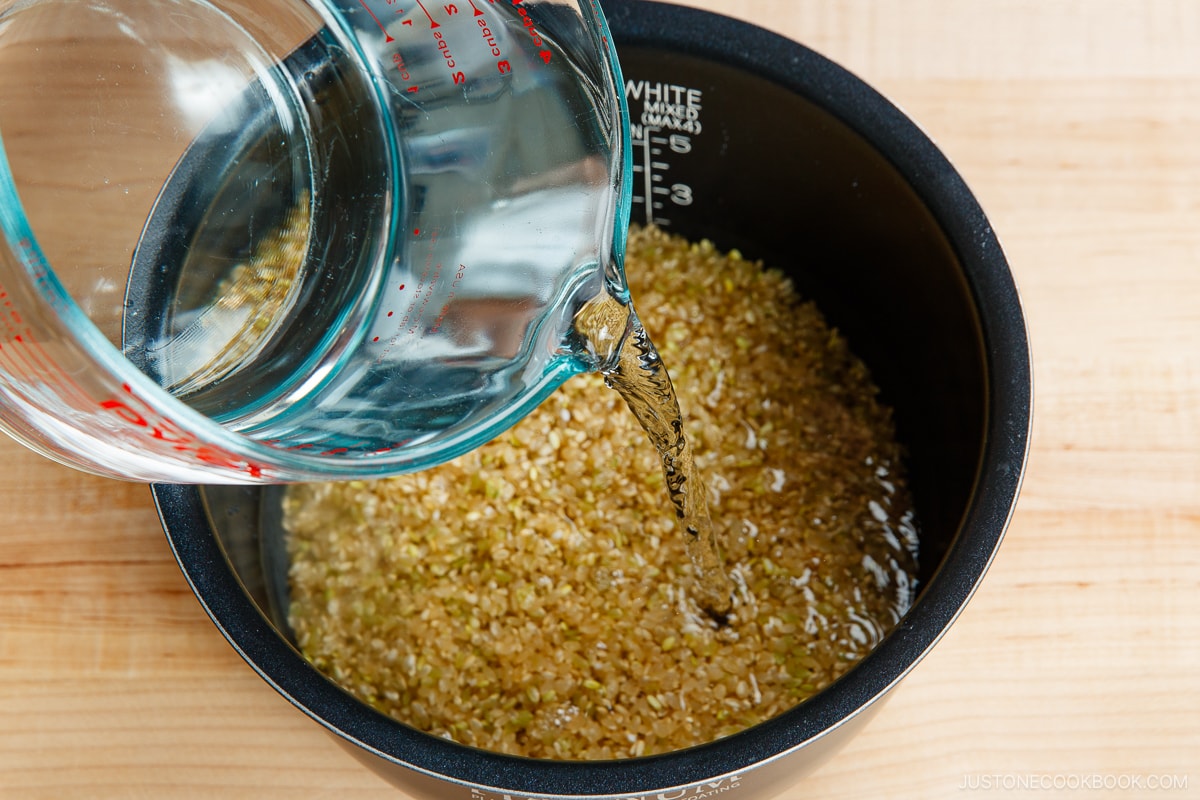
The plastic rice cooker cup that comes with the rice cooker is ¾ cup (180 ml). In Japan, this amount is called ichi go (一合). Here’s how much room-temperature water you need for each rice cooker cup of Japanese short-grain brown rice when you follow the 1-to-1.6 (or 1.7) ratio:
1 rice cooker cup (180 ml) of rice = add 300 ml of water
2 rice cooker cups (360 ml) = 600 ml
3 rice cooker cups (540 ml) = 900 ml
4 rice cooker cups (720 ml) = 1200 ml
5 rice cooker cups (900 ml) = 1500 ml
Calculation: 180 ml x 1 to 1.6 (or 1.7) = 288 ml (or 306 ml)
Most Japanese rice cookers have a separate setting for brown rice. If yours does, the inner pot will have marked lines for how much water to add for the number of rice cooker cups that you’re cooking. In this case, you can simply add your rinsed and washed brown rice to the pot and pour water to the marked line.
My family and I actually prefer to add a bit more water than the water line in the rice cooker bowl. Whenever we cook the rice according to the specified water line, the rice comes out a bit too dry. So, I highly encourage you to test and adjust the water amount whenever you switch the rice brand or the region where the rice is harvested.
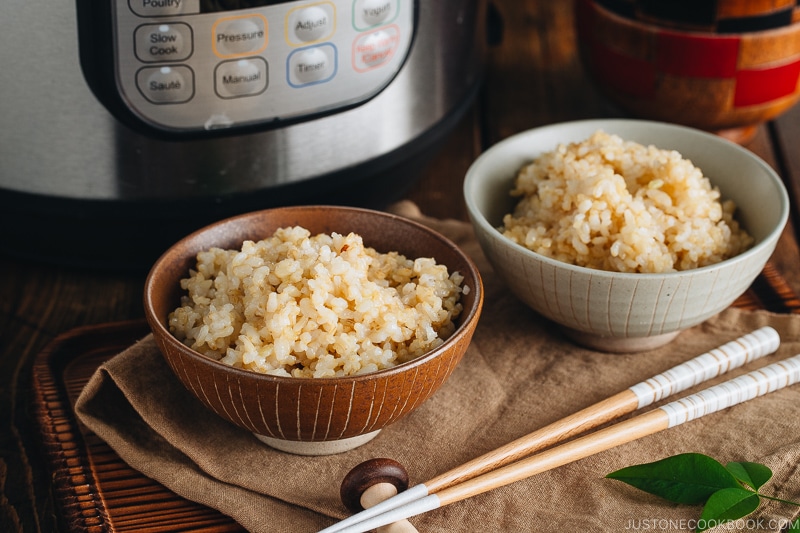
How to Cook Japanese Short-Grain Brown Rice
The Ingredients You’ll Need
- Japanese short-grain brown rice
- water (at room temperature)
- a pinch or two of salt
The Cooking Steps
- Measure the Rice: Overfill your rice cooker cup (or US measuring cup) with uncooked rice, then level it off.
- Wash and Rinse: Start with an initial quick rinse, followed by washing and rinsing the rice three times. See the recipe card for my detailed step-by-step instructions and photos.
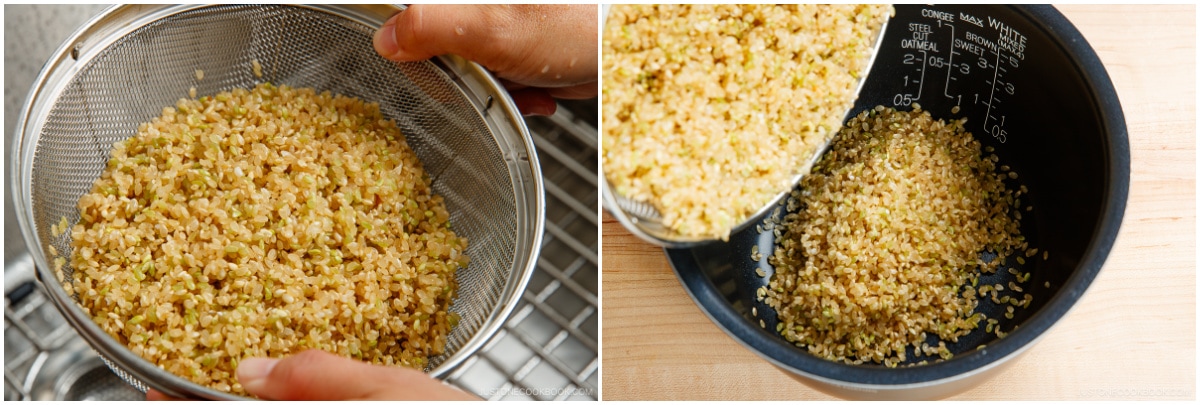
- Drain Well: Drain the rice very well in a fine-mesh sieve and shake off any excess water.
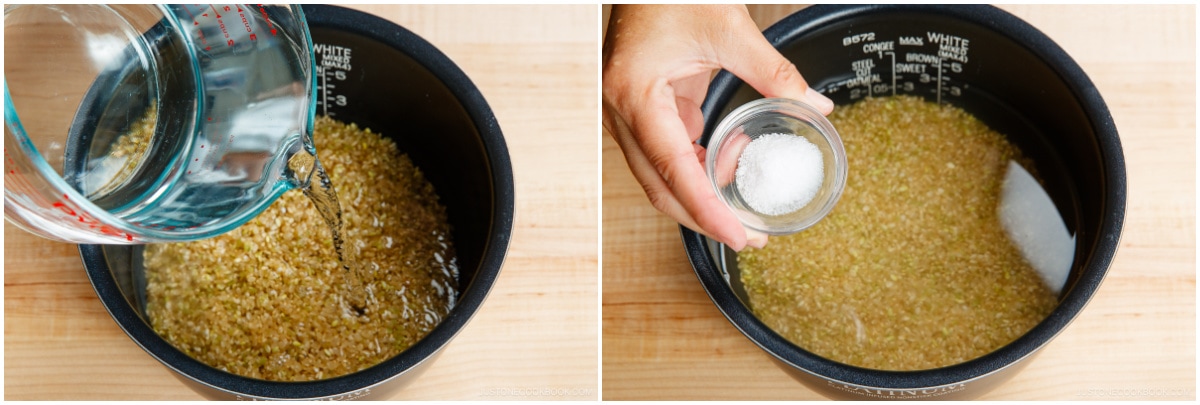
- Add Water and Salt: Add the drained rice, a pinch of salt, and the measured water (at room temperature) to the inner pot of your rice cooker.
- Soak the Rice: Very important! Soak the rice for at least 6 hours (up to 12 hours is fine).
- Select the Brown Rice Program: Most Japanese rice cookers have a setting for brown rice. If you accidentally cook brown rice using the normal white rice setting, the grains may not cook through.
- Cook: Press the Start button. The Brown Rice program on my rice cooker takes 83 minutes from start to finish, including 10 minutes of steaming at the end.
- Steam: After cooking, let the rice steam for 10 minutes (if it’s not included in the program).
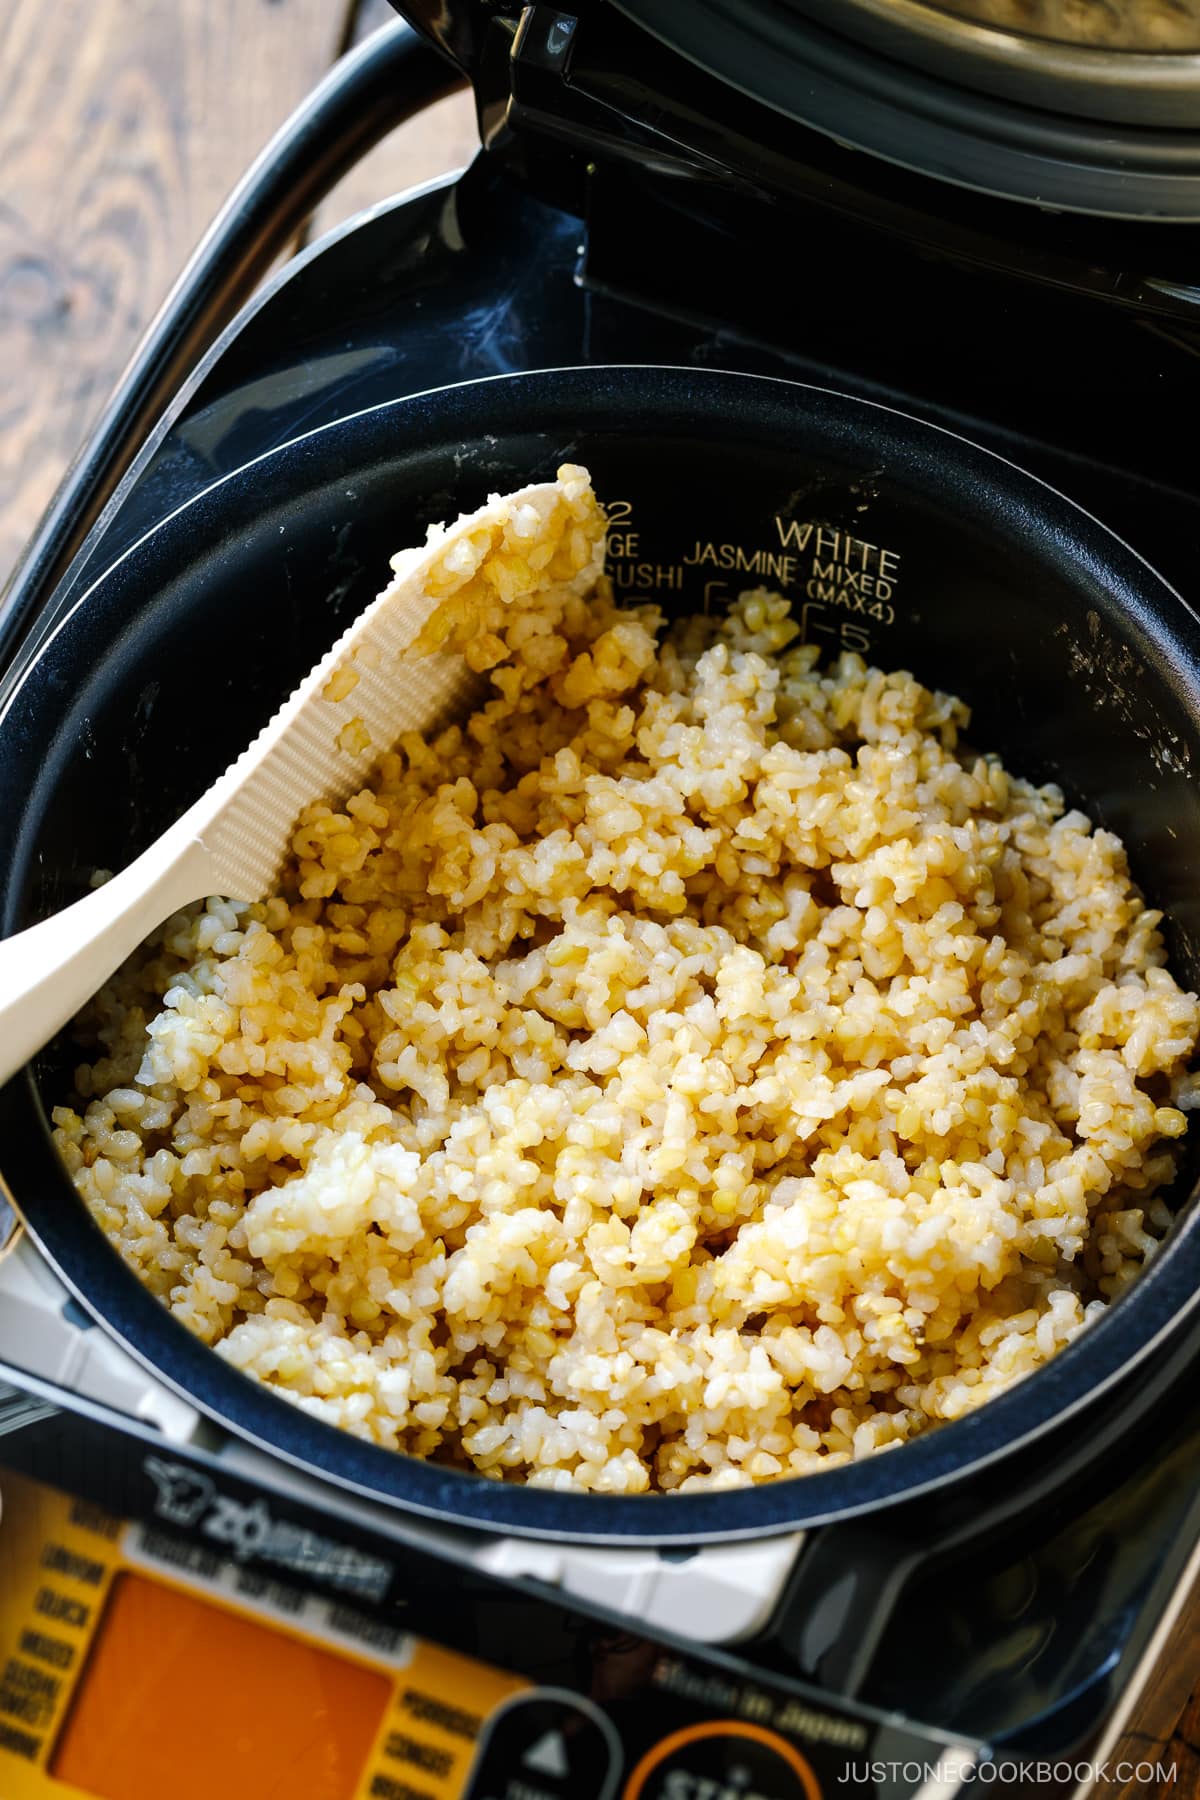
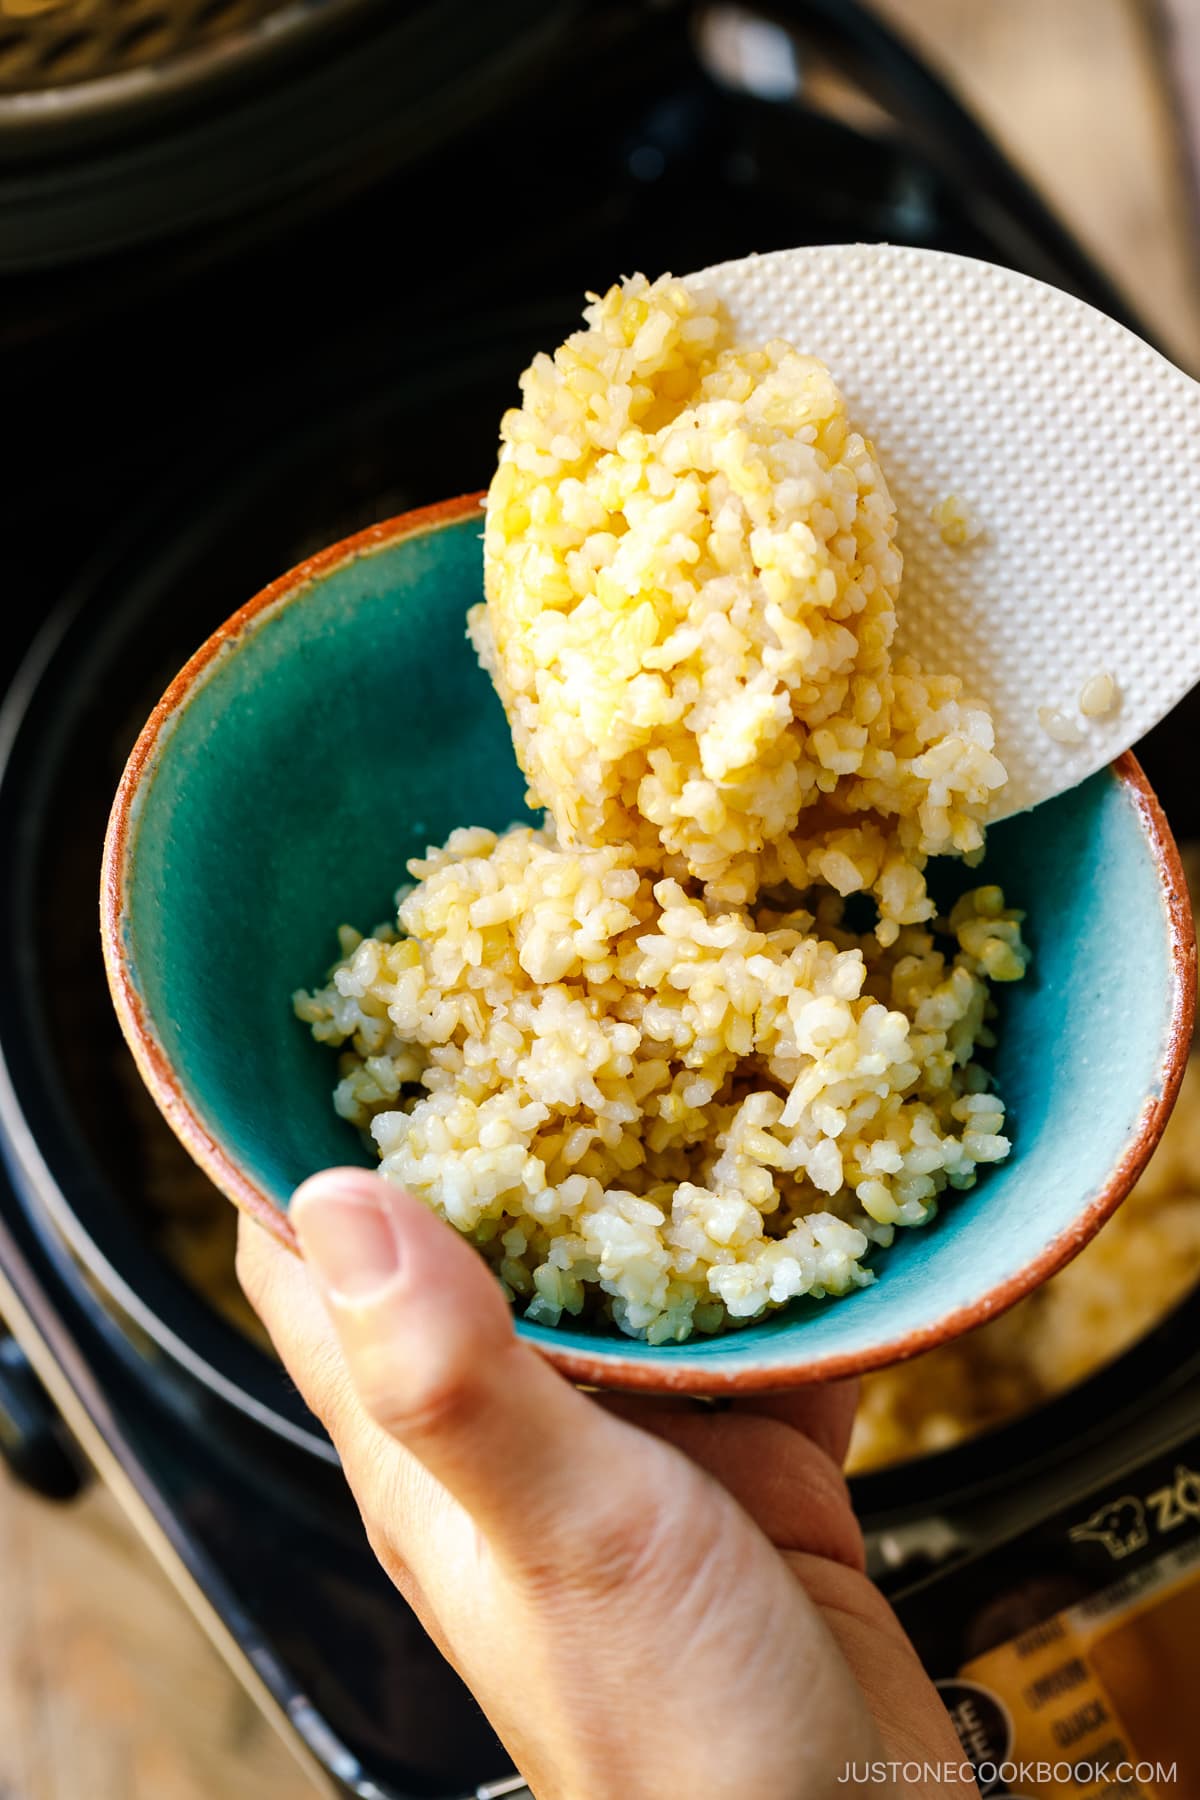
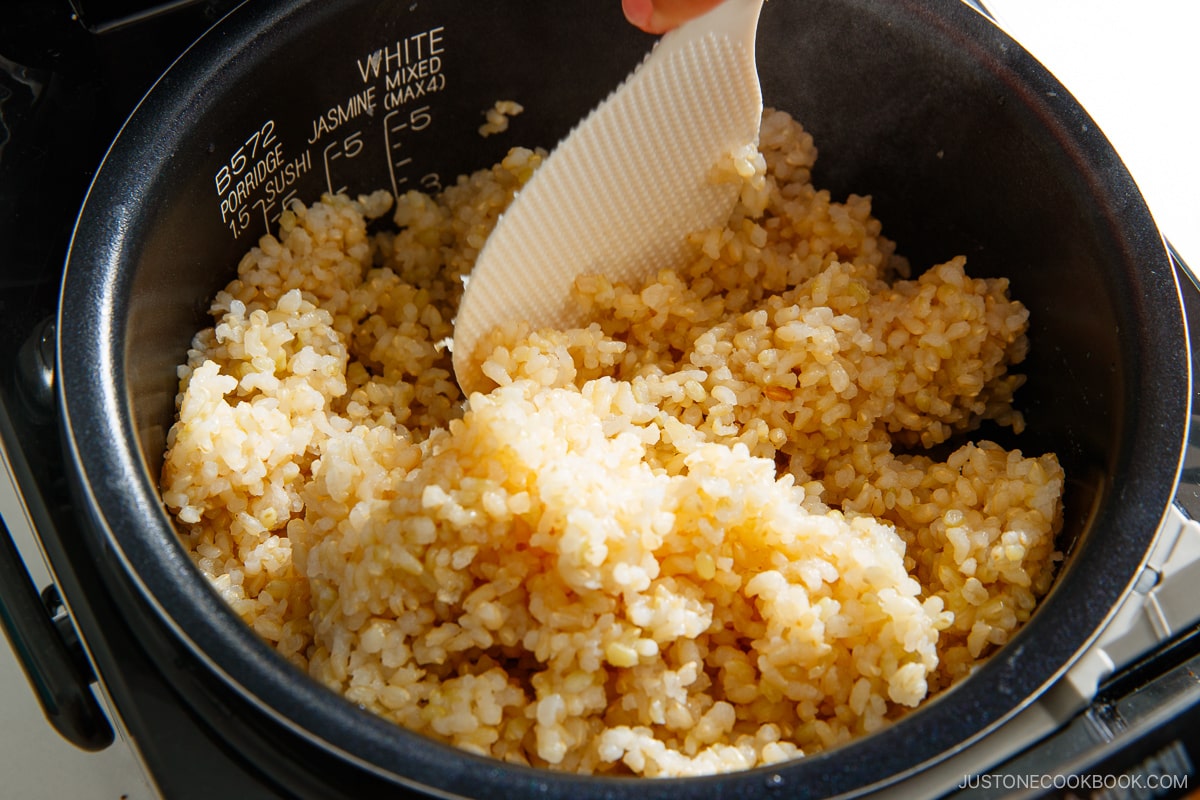
- Fluff and Serve: Insert a rice paddle vertically into the cooked rice. Turn over a scoop of rice from the bottom. Then, use a slicing motion to fluff the rice. Repeat until fluffed, then enjoy!
How Much Rice Do I Need to Cook
- 1 rice cooker cup (180 ml, ¾ cup, 150 g) of uncooked short-grain brown rice
- 2¼ cups or 330 g of cooked rice
- 2 rice bowls
- 3 onigiri rice balls
- 1 donburi bowl
- 2¼ cups or 330 g of cooked rice
- 2 rice cooker cups (360 ml, 1½ cups, 300 g) of uncooked rice
- 4⅓ cups, 660 g of cooked rice
- 4 rice bowls
- 6 onigiri rice balls
- 2.5 donburi bowls
- 4⅓ cups, 660 g of cooked rice
- 3 rice cooker cups (540 ml, 2¼ cups, 450 g) of uncooked rice
- 6⅔ cups or 990 g of cooked rice
- 6 rice bowls
- 9 onigiri rice balls
- 4 donburi bowls
- 6⅔ cups or 990 g of cooked rice
- 4 rice cooker cups (720 ml, 3 cups, 600 g) of uncooked rice
- 8¾ cups or 1320 g of cooked rice
- 8 rice bowls
- 12 onigiri rice balls
- 5 donburi bowls
- 8¾ cups or 1320 g of cooked rice
- 5 rice cooker cups (900 ml, 3¾ cups, 750 g) of uncooked rice
- 11 cups or 1650 g of cooked rice
- 10 rice bowls
- 15 onigiri rice balls
- 6 donburi bowls
- 11 cups or 1650 g of cooked rice
Helpful Notes to Remember:
- One cup of cooked brown rice weighs 5.3 oz (150 g).
- A typical rice bowl serving is 1 cup (150 g) of cooked rice.
- A typical donburi bowl serving is 1⅔ cups (250 g) of cooked rice.
- A typical onigiri (rice ball) weighs 3.9 oz (110 g) each.
Cooking Tips
- Always rinse and wash the rice. We always quickly rinse and wash the rice a few times. This is important to help remove impurities and the natural occurrence of arsenic on the rice.
- Short-grain brown rice always requires soaking (6 hours to overnight), unlike other kinds of rice. Otherwise, you will end up with brown rice that’s dry and uncooked in the center of the grain. The rice grains are rounder and fatter, so they need a head start to absorb moisture to the core of the rice kernel. With brown rice, it takes even longer to absorb the water compared to white rice.
- Let the cooked rice steam for 10 minutes when the rice cooker turns off. Steaming is essential! It’s the final step in cooking Japanese rice. Without it, your rice will not cook fully. You can skip this step if your rice cooker program already includes 10 minutes of steaming time. Resist the urge to peek under the lid during this time! If you open the lid, you’ll release the precious steam that’s crucial for this resting period.
- Add a pinch of salt. It’s common in Japan to add a pinch of salt when cooking brown rice in order to remove the bitterness.
- When you use new crop rice (新米), reduce the water slightly.
- When you get a different brand of rice, test cooking the rice and adjust the amount of water, if needed
- The more rice you have in the pot, the more delicious your cooked rice will be. That’s because the most evenly cooked rice is in the center of the pot. The rice near the bottom and top simply cooks too fast. More rice in the pot means you’ll increase the central proportion of steamed rice for a more delicious outcome. That’s why I recommend cooking at least 2-3 rice cooker cups of uncooked rice at a time, even if you only need 1 cup. You can always freeze the extra rice with good results.
The Best Way to Store Cooked Rice
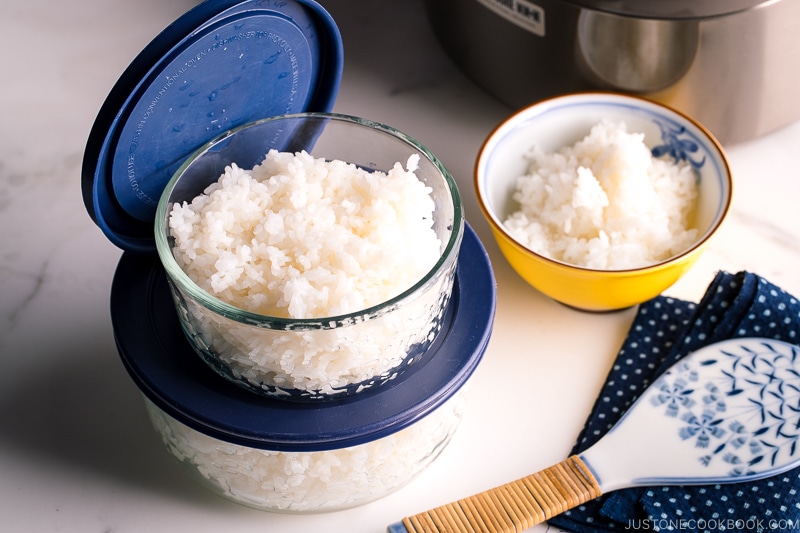
What’s the best method to store cooked rice? Simply freeze the rice in airtight containers and reheat to enjoy later on! This is by far the best approach to keeping your rice fresh and moist.
Other Methods of Cooking Japanese Brown Rice
- A Heavy-bottomed Pot on the Stovetop – Start cooking the rice in a heavy-bottomed pot without a lid over high heat until the water boils. Then, stir and reduce the heat to low. Cover tightly and cook for 30 minutes. Turn off the heat and let it stand covered for 30 minutes.
- Donabe on the Stovetop – Follow my instructions cooking brown rice in a Donabe.
- Instant Pot (Electric Pressure Cooker) – Follow my Instant Pot Brown Rice recipe.
FAQs
My rice cooker does not have a Brown Rice setting. Can I still cook short-grain brown rice?
If your rice cooker does not have the “brown rice mode,” you can still use the regular “white rice mode” and increase the soaking time and steaming time.
Can I use Japanese brown rice to make sushi and onigiri?
Sushi and sushi rolls made with brown rice are extremely rare to find in Japan, although it’s pretty common outside of Japan. When it comes to sushi, people in Japan have certain expectations, and brown rice typically doesn’t meet their standards.
As brown rice is not as sticky as white rice, it definitely falls apart more easily, but it’s not impossible and you can probably make it work. For making rice balls, you may want to wrap the brown rice onigiri with plastic wrap to keep them together.
What if I don’t have a rice cooker? Can I cook brown rice in a pot on the stovetop?
Yes, you can! Follow the same rice-to-water ratio and soaking time shared in this recipe. Start cooking the rice in a heavy-bottomed pot without a lid over high heat until the water boils. Then, stir and reduce the heat to low. Cook covered for 30 minutes. Let it stand covered for 30 minutes.
My Favorite Rice Cooker
Those of us who live outside of Japan don’t have too many (fancy) choices. Since I came to the US, I’ve been using only Zojirushi brand rice cookers (3 of them).
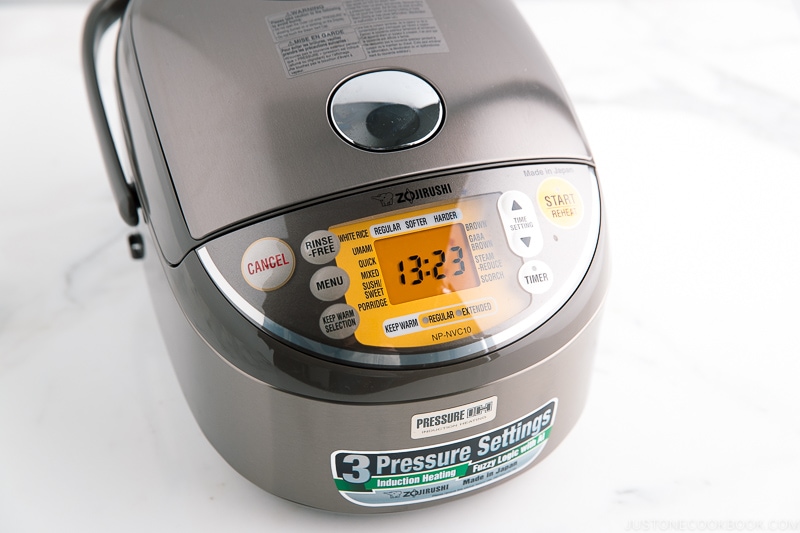
This is my current rice cooker by Zojirushi. It is a Zojirushi Pressure Induction Heating Rice Cooker & Warmer (5.5 cups).
As we eat rice at home almost every single day, I depend highly on a superior-quality rice cooker to cook the perfect rice for my family.
This Zojirushi rice cooker uses pressurized cooking and AI (Artificial Intelligence) to cook rice. It also has a platinum-infused, nonstick inner cooking pan that brings out the natural sweetness of the rice.
The other features include:
- automatically selects from three pressure levels according to the menu selected
- healthy cooking options: brown rice and GABA brown rice settings
- menu settings include: white (regular, softer or harder), umami, mixed, sushi/sweet, porridge, brown, GABA brown, steam-reduce, scorch, rinse-free and quick cooking
- made in Japan
With this rice cooker, I’ve never once needed to worry about dry or mushy rice. It is absolutely one of the must-have kitchen gadgets I can’t live without!
If you’re interested, you can purchase the rice cooker on Amazon.

How to Cook Japanese Short-Grain Brown Rice in a Rice Cooker
Ingredients
For 4 Rice Bowls
- 1½ cups uncooked Japanese short-grain brown rice (2 rice cooker cups; 360 ml)
- 2½ cups water (600 ml)
- ½ tsp Diamond Crystal kosher salt
For 6 Rice Bowls
- 2¼ cups uncooked Japanese short-grain brown rice (3 rice cooker cups; 540 ml)
- 3¾ cups water (900 ml)
- ¾ tsp Diamond Crystal kosher salt
For 8 Rice Bowls
- 3 cups uncooked Japanese short-grain brown rice (4 rice cooker cups; 720 ml)
- 5 cups water (1200 ml)
- 1 tsp Diamond Crystal kosher salt
Instructions
- Before You Start: Please note that Japanese short-grain brown rice requires a soaking time of 6 hours to overnight. The brown rice-to-water ratio is 1 to 1.6 (or 1.7). Please read the blog post for details. Gather all the ingredients. To measure the rice, overfill a rice cooker cup or a US ¾-cup measure with brown rice and level it off. Put the rice in a large bowl and repeat for the amount you need. Here, I‘m using 3 rice cooker cups.

To Wash the Rice
- Quick Rinse: Add just enough water to the bowl to submerge all the rice, then immediately discard the water. Repeat. Tip: Rice absorbs water very quickly when you start rinsing, so this step helps remove impurities from the rice and prevent it from absorbing the first few rounds of milky water.
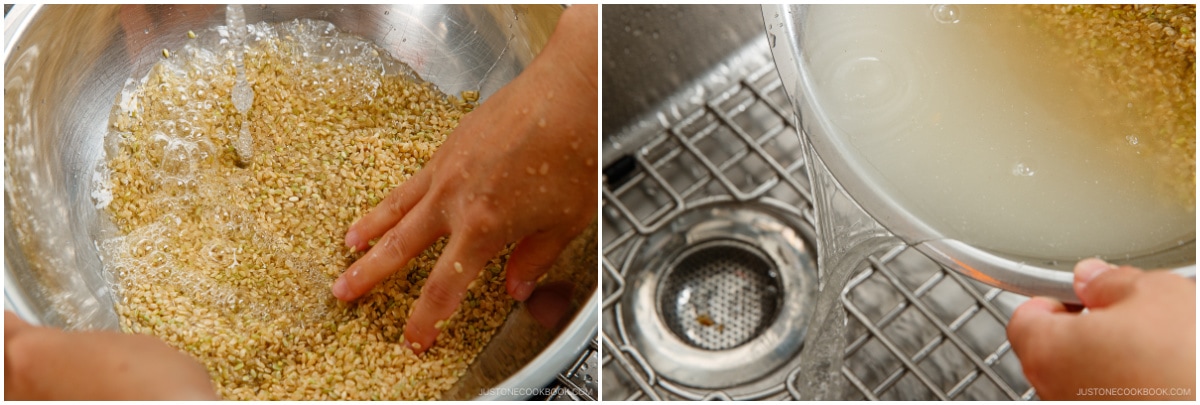
- Wash and Rinse: Next, use your fingers to gently agitate (wash) the wet rice grains in a circular motion for 10–15 seconds. Add water to rinse and immediately discard the cloudy water. Rinse one more time. Tip: Using very little water allows the grains to rub against each other. It also reduces the absorption of impurities from the milky water.
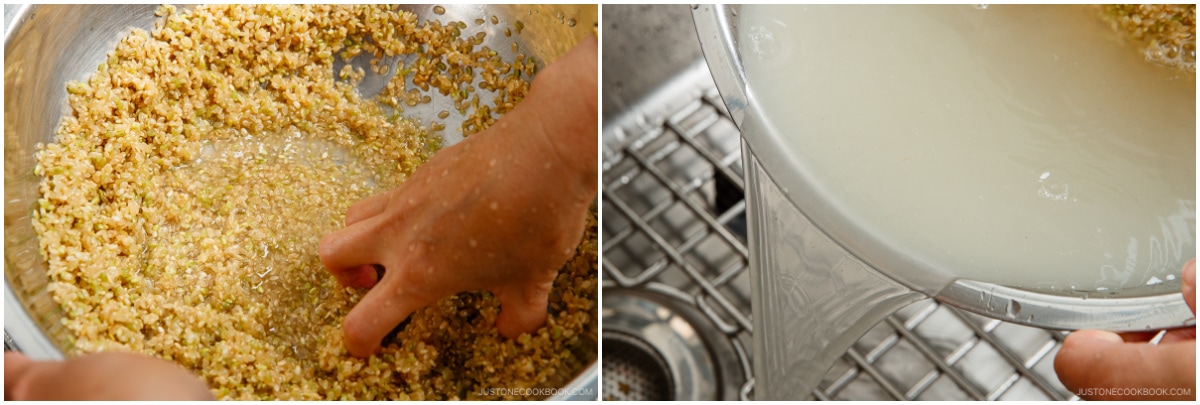
- Repeat Wash and Rinse two more times.
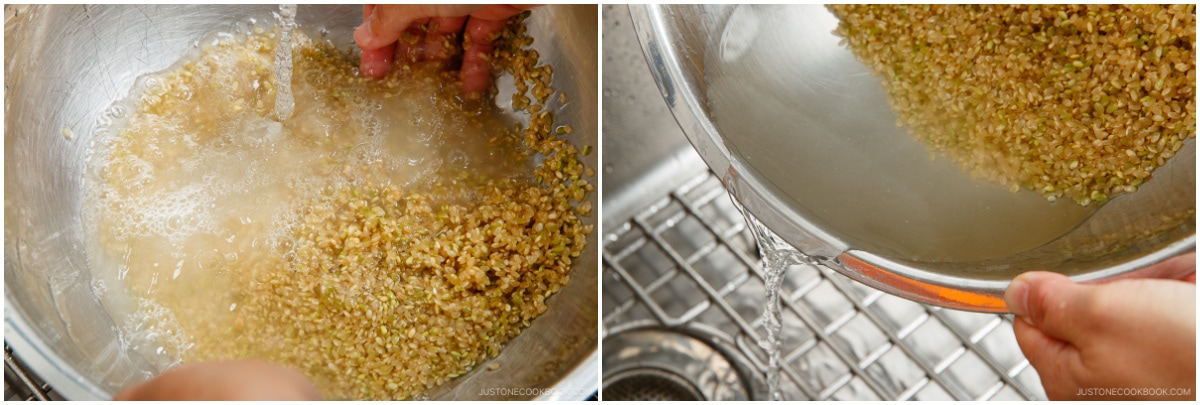
- Drain: When the water is almost clear, drain well in a fine-mesh sieve and shake off the excess. Transfer the rice to the inner pot of a rice cooker (I use the Zojirushi IH).
To Soak the Rice
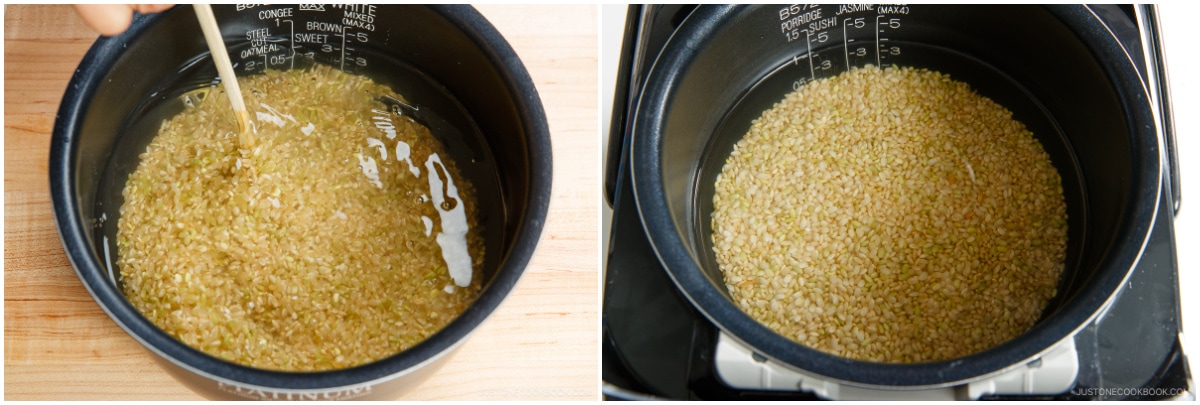
- Add the measured amount of room-temperature water (900 ml for my 3 rice cooker cups of rice) to the inner pot. Use room-temperature water, not warm or hot. Add a bit of salt (I added ¾ tsp).
- Mix it well with a chopstick or your fingers and level the rice. Place the inner pot in the rice cooker. Soak the brown rice for 6 hours to overnight.
To Cook and Steam the Rice
- Now, select the program on your rice cooker; I selected the Brown Rice program. Then, press Start. Note: This Zojirushi rice cooker program for brown rice includes 10 minutes of soaking time and 10 minutes of steaming time and takes a total of 83 minutes.When it's done cooking, let it steam for 10 minutes (if the program does not include steaming time.) Then, open the lid; you should see small steam holes in the cooked rice.

- For a pot on the stove (optional): Start cooking the rice in a heavy-bottomed pot without a lid over high heat until the water boils. Then, stir and reduce the heat to low. Cover tightly and cook for 30 minutes. Let it stand, covered, for 30 minutes to steam.
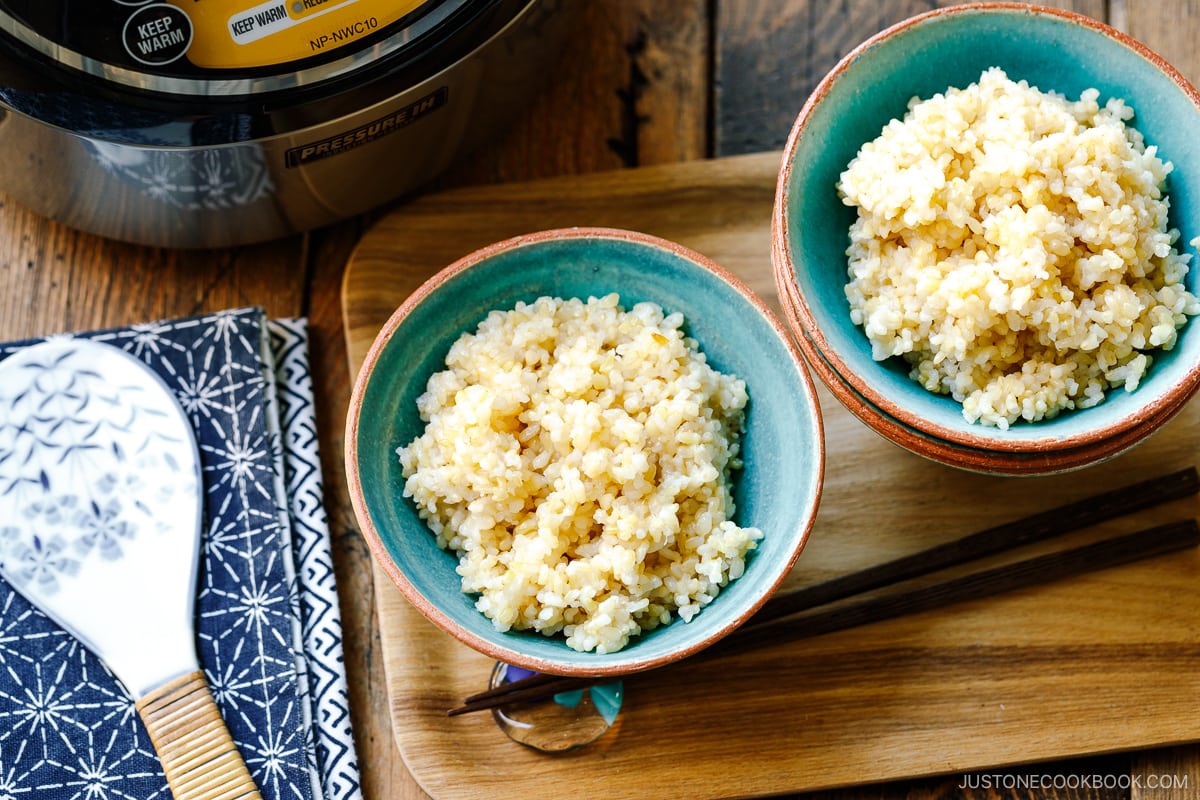
To Serve
- Fluff the rice with a rice paddle. Insert the rice paddle vertically, scoop up the rice from the bottom, then slice it to “fluff“ the rice. Remember to fluff the rice using a slicing motion.
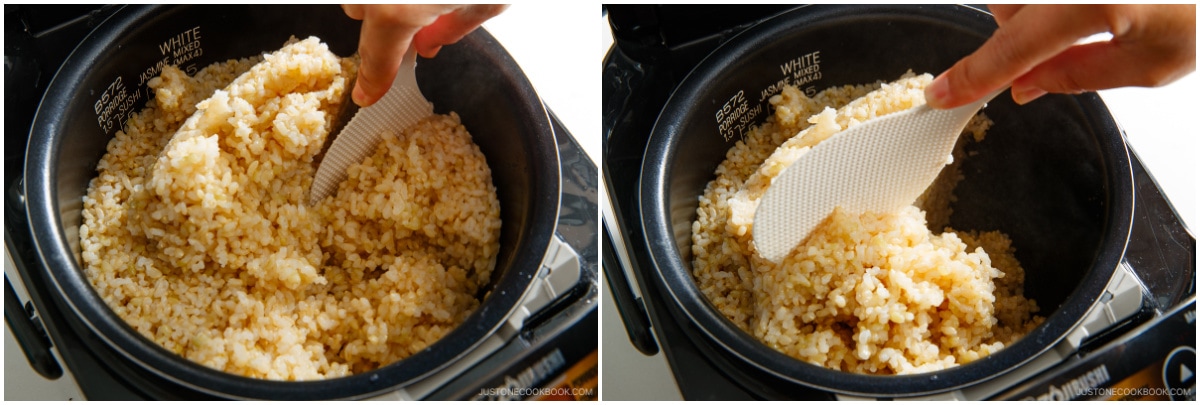
- Serve and enjoy!
To Store
- Transfer the hot rice to airtight containers and close the lid to keep the moisture in. Let it cool completely before storing the containers in the freezer (read my tutorial post How To Store Cooked Rice).
Notes
- 1½ cups (2 rice cooker cups; 360 ml) of uncooked Japanese short-grain rice yield 4⅓ cups (660 g) of cooked rice.
- 2¼ cups (3 rice cooker cups; 540 ml) of uncooked Japanese short-grain brown rice yield 6⅔ cups (990 g) of cooked rice.
- 3 cups (4 rice cooker cups; 720 ml) of uncooked Japanese short-grain brown rice yield 8¾ cups (1320 g) of cooked rice.
- 1 cup of cooked rice weighs about 5.3 oz (150 g).
- Each onigiri (rice ball) requires about 3.5–3.9 oz (100-110 g) of rice.


You say early on that you will explain how to cook the mix of white and brown rice, but I cannot find anything about it in your post. I am very interested in cooking mixed brown and white rice. Thank you
Hello, Lona! Thank you so much for taking the time to read Nami’s post!
Please see this post for instructions on how to make the white and brown rice mixture. This is in Japanese, but we hope you can read it using Google Translate.😉
https://kome-musubi.jp/water-genmai-hakumai/#:~:text=%E7%8E%84%E7%B1%B3%E3%81%A8%E7%99%BD%E7%B1%B3%E3%82%92%E6%B7%B7%E3%81%9C,%E3%81%97%E3%81%9F%E4%BB%95%E4%B8%8A%E3%81%8C%E3%82%8A%E3%81%AB%E3%81%AA%E3%82%8A%E3%81%BE%E3%81%99%E3%80%82
We hope this was helpful!
So sorry, but these instructions for cooking short grain brown rice are totally over-complicated and unnecessary. I have been cooking this type of rice my whole life (I’m 76 now), so I know what I’m talking about. I’ve always cooked it on the stove top, but I was recently talked into buying a rice cooker (Zojirushi). My favorite brand of this kind of rice is Lundberg Organic Brown Short Grain Rice, which you can find at most stores or from Amazon. I appreciate that it is organic, as most rice is grown with several herbicides and pesticides.
The package instructions are for stove top cooking, but having tested it, I can say that these instructions are identical for the rice cooker. I use standard American cups. The instructions are:
That’s all there is to it. Perfectly cooked, soft, fluffy, nutty rice. There’s no need to soak at all. Just double the rice and water quantities for more. In my Zojirushi it took about 1 hour, 40 minutes. On the stove top it takes 45 minutes plus 10 minutes off the heat. Even though the rice cooker takes so long, the big advantage is that you don’t have to babysit it.
Honestly, I really do love and appreciate this website! Lots of wonderful ideas and information. But sometimes things can benefit from simplifying. People might hesitate to try a recipe when it looks too long and complicated. For example, instructions for how to make a cup of tea could be as simple as: Put tea bag in cup. Pour on boiling water. Wait 5 minutes. Remove bag. Drink. In fact, this could be further shortened to: Make a cup of tea. (Since everyone already knows how to do this.)
Hi Andrea! Thank you so much for your honest feedback! I completely agree that simplifying recipes can make them easier to read and I’ll work on improving my recipes.
I receive many questions about how to rinse rice, so I include these details in my recipes to ensure that even beginners with no cooking experience can follow along and achieve great results. 😊
During a visit to a rice farm in California, we learned that Americans often cook short-grain rice without soaking it to achieve a firmer texture that suits their dishes. In Japan, however, we consider that texture undercooked based on our standards. It seems the difference really comes down to cultural preferences.
Short-grain rice is a staple in Japan, rice farmers believe that soaking rice is an essential step to achieve the soft, fluffy texture that complements Japanese meals. It’s just the right thing to do——like salting pasta water. 🙂
Thank you so much again for your feedback! My team and I have been working on updating recipe posts every day, and we’ll be adding this one to the list. 🙂
A genmai rice tip from the hippie days in my country of of Denmark:
Toast the genmai rice lightly for a few minutes in the oven or toaster oven taking care not to let it pop.
Wash together with the white rice and add your usual amount of of water… the toasting avoids extra water and soaking time.
For the mixed rice I use 2 rice cooker cups of genmai rice and 3.5 cups white rice.
My Japanese wife loves this recipe with its slightly nutty taste.
Cheers,
Stuart
Fukuoka
Hi, Stuart! Thank you for reading Nami’s post and contributing a tip!
What a fantastic idea to toast the Genmai! We plan to try it soon. Happy cooking!🤗
Does sprouted brown GABA rice also require soaking?
Hi, Kristy! Thank you for reading Nami’s post.
Yes! We highly recommend soaking them as well.
Happy cooking!
Hi Nami! At first when I read your post about soaking brown rice for several hours, I thought… “Hmm, that’s odd. I’ve never done that and my Japanese brown rice turned out fine in the very same rice cooker as Nami’s.” But then I thought about it more… and I realized that aside from one time, I have always used the GABA Brown rice setting, and that setting takes… over 3 hours! So I think it was simply getting enough soaking time during the initial stages of this cooking setting. Now I remember the one time I used the normal Brown rice mode and my rice came out dry and a bit undercooked, because I did not know it needed to be soaked beforehand. Good to know! Thanks for the post!
I am trying to balance my diet better and want to use brown rice more often and white rice less often but some dishes are just better with white rice, of course. How often would you say your family eats brown rice vs white rice these days? Just curious how others are balancing it!
Hello, Lion! Thank you for reading Nami’s post!
Yes! The GABA Brown Rice option includes activating the GABA in the brown rice by soaking it for two hours at 104°F before cooking. It’s an excellent setting!
Nami’s son likes brown rice, so she often prepares it for the family. However, certain meals are also delicious with white rice! 😊
Several months ago i cooked brown rice not knowing it had to besoaked 6 hrs before cooking. Result was a bit of hard inner rice and because i had alot left over i wondered what to do for the next day. My solution was to resteam again (can’t remember how long but maybe at least 20 mins.) and it worked! I had normal cooked brown rice!
Hi frances! Thank you for reading Nami’s post and sharing your cooking experience with us.🙂
My rice cooker has two plastic measuring cups but I can’t figure out why? One is blue plastic and smaller than the white plastic. Is the blue one to measure out the brown rice?
Hi Vernie, Thank you for reading Nami’s post!
According to the Zojirushi website’s instruction manual, the green cup is for rinse-free rice (typically mentioned on the outside of the rice container whether it is rinse-free rice) or not.
For brown rice, we recommend using the white/clear cup.🙂
We hope this helps!