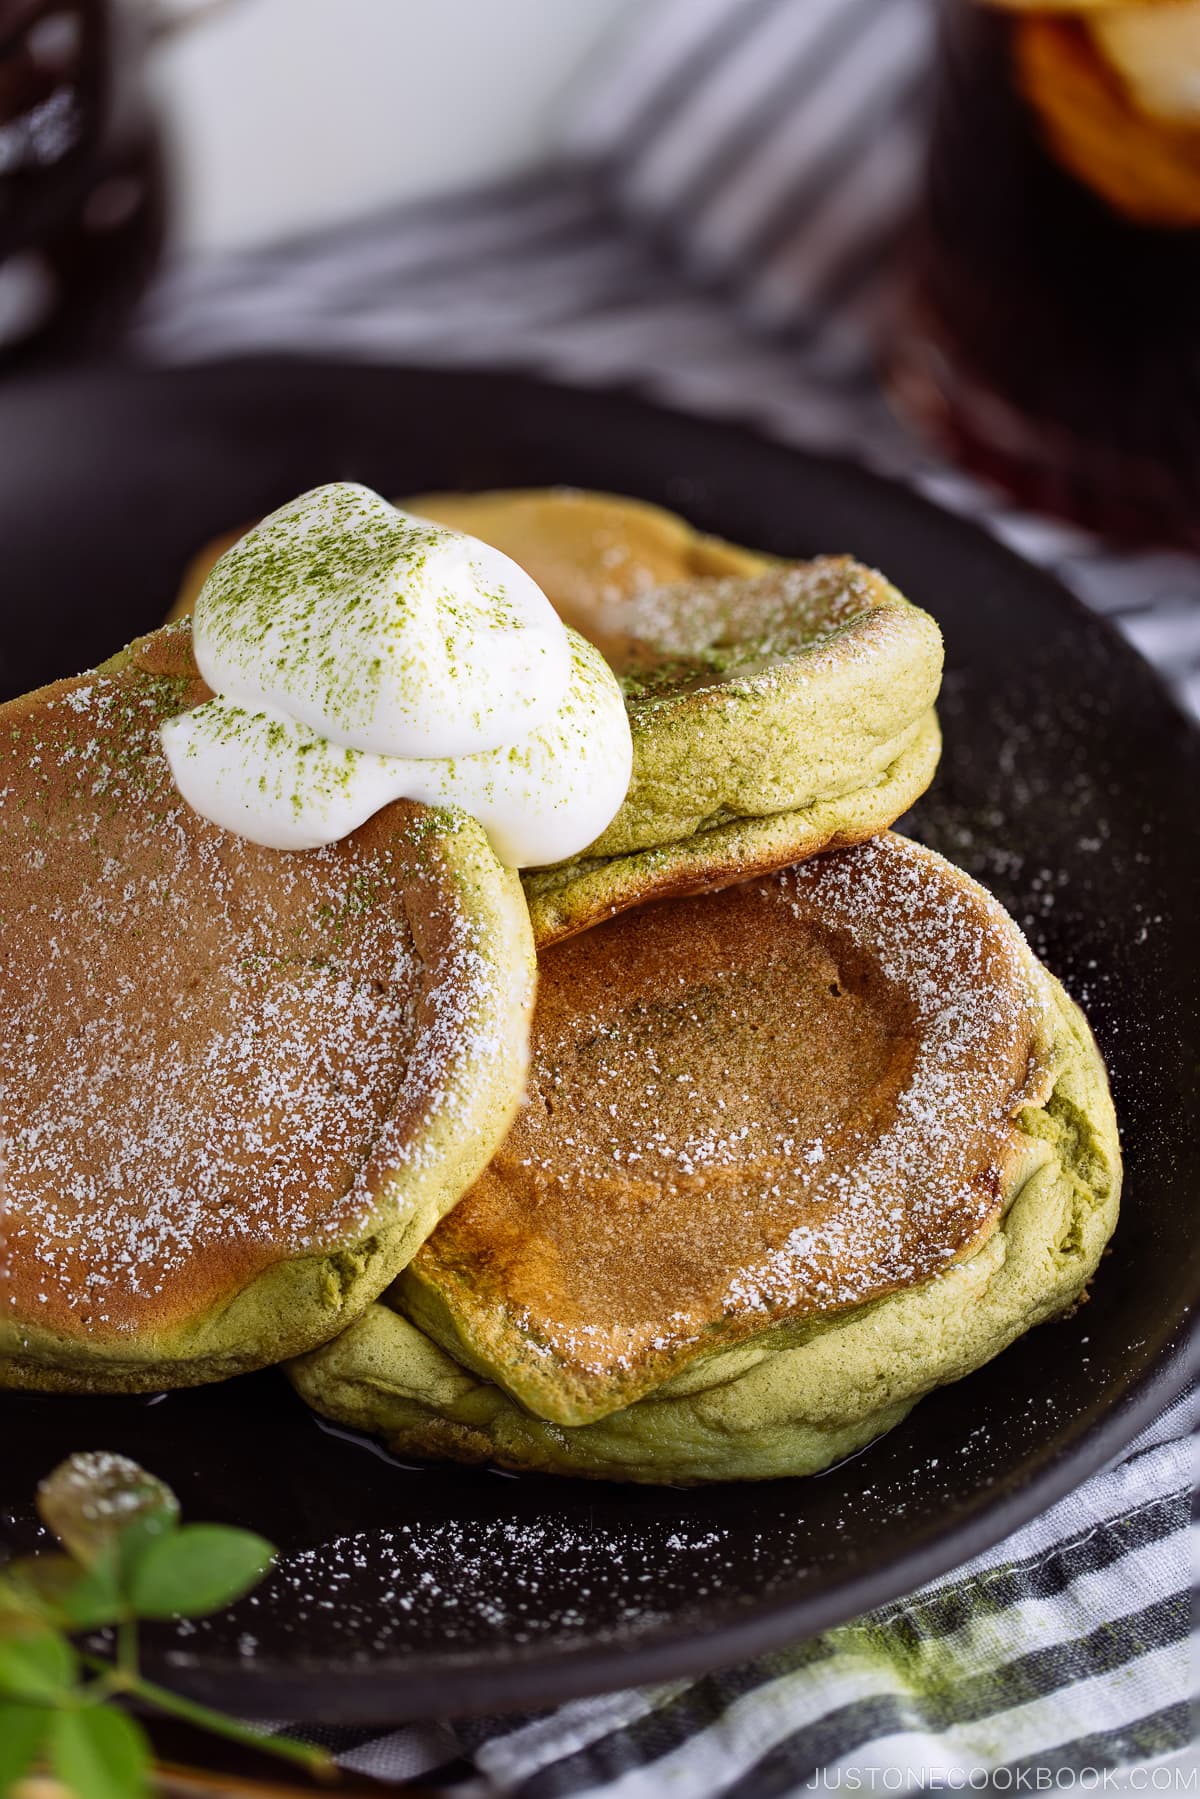
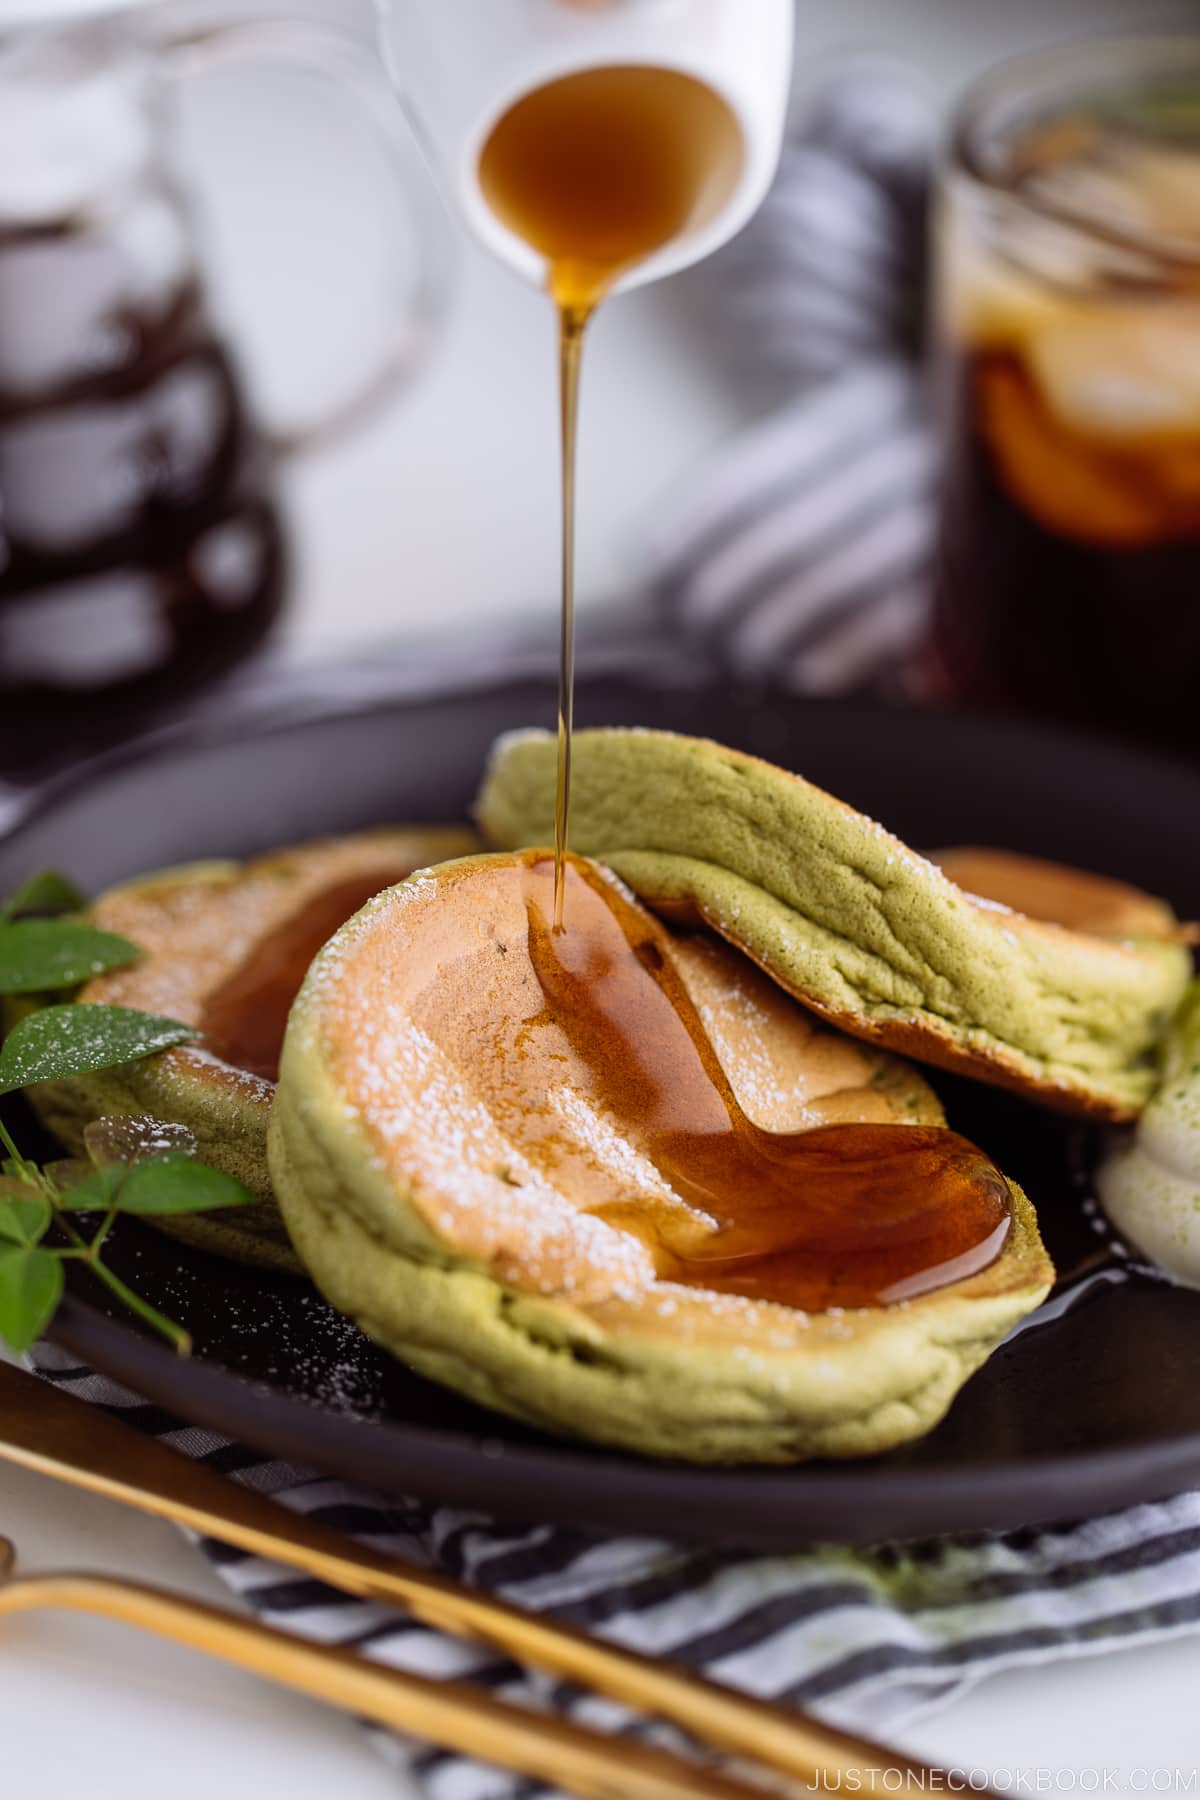
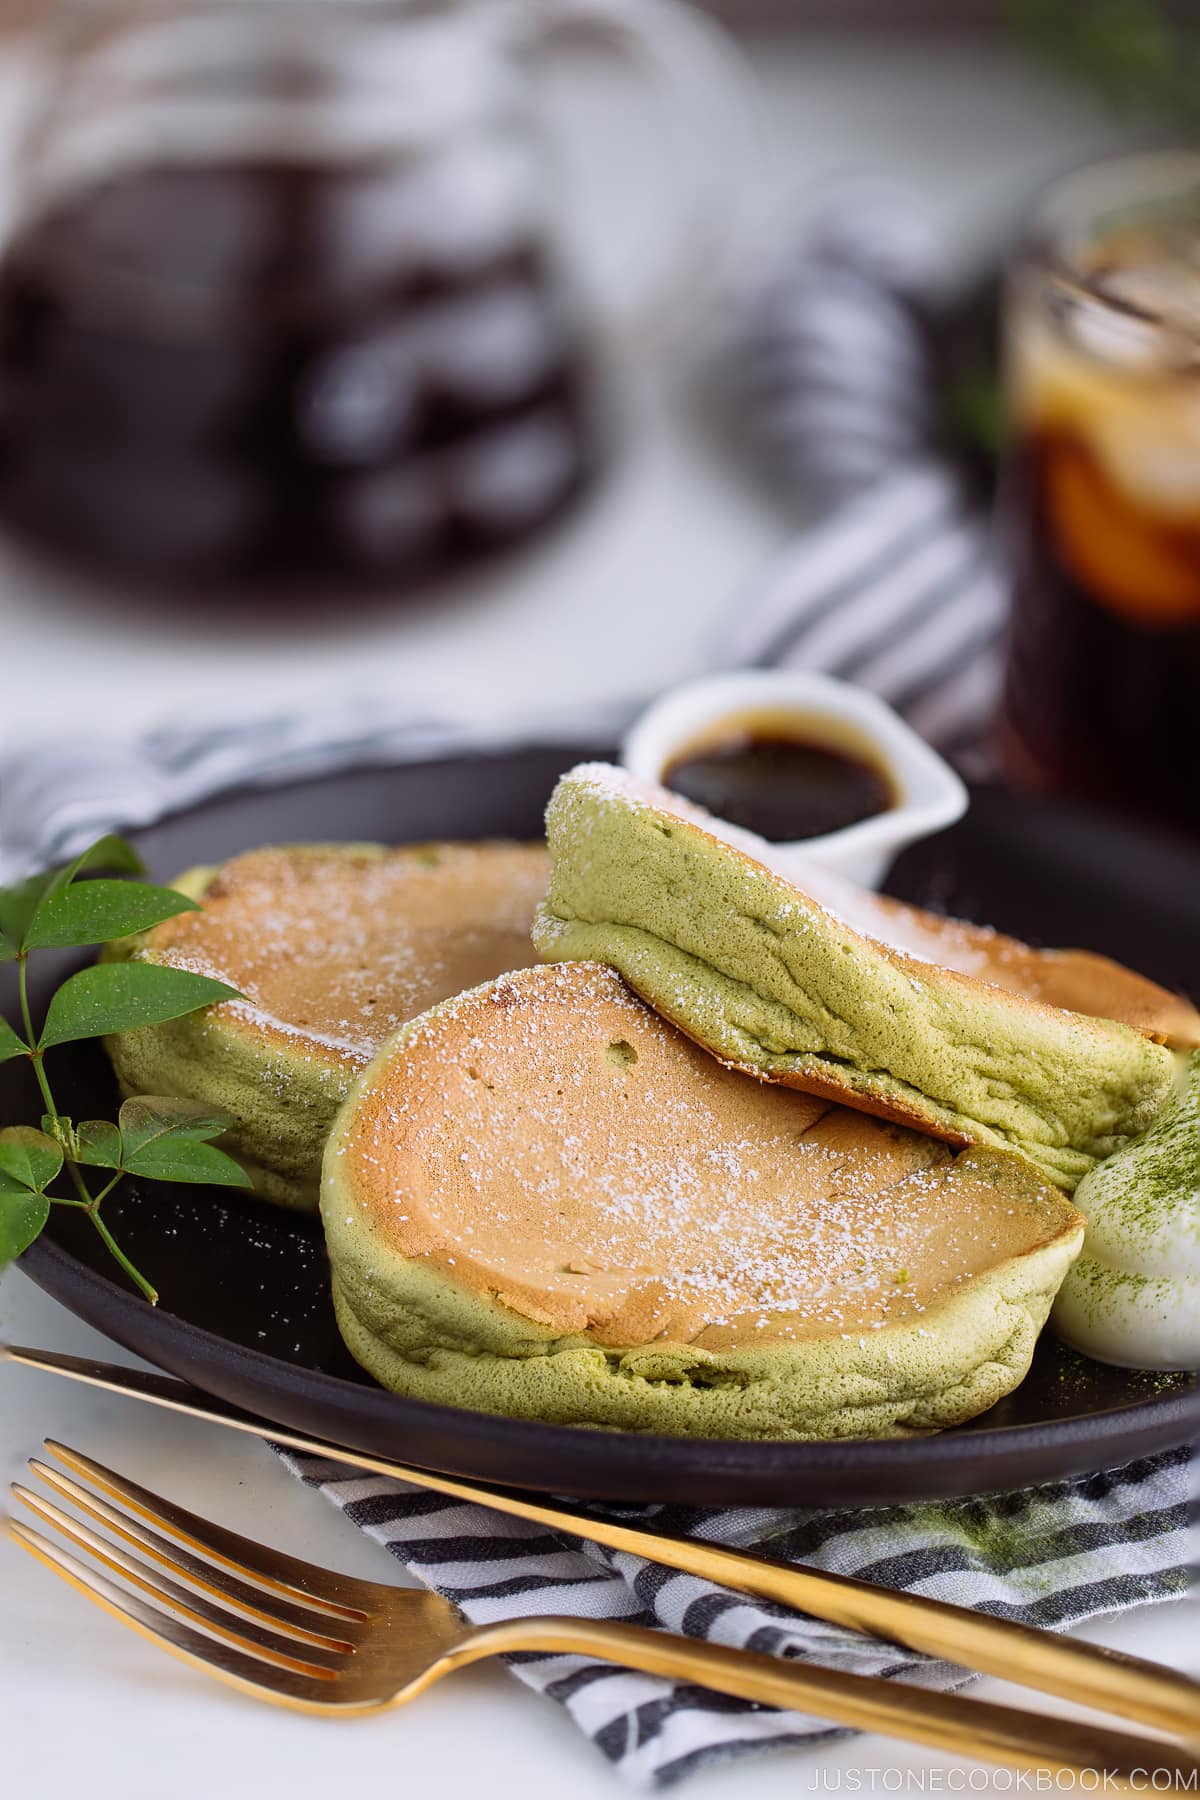
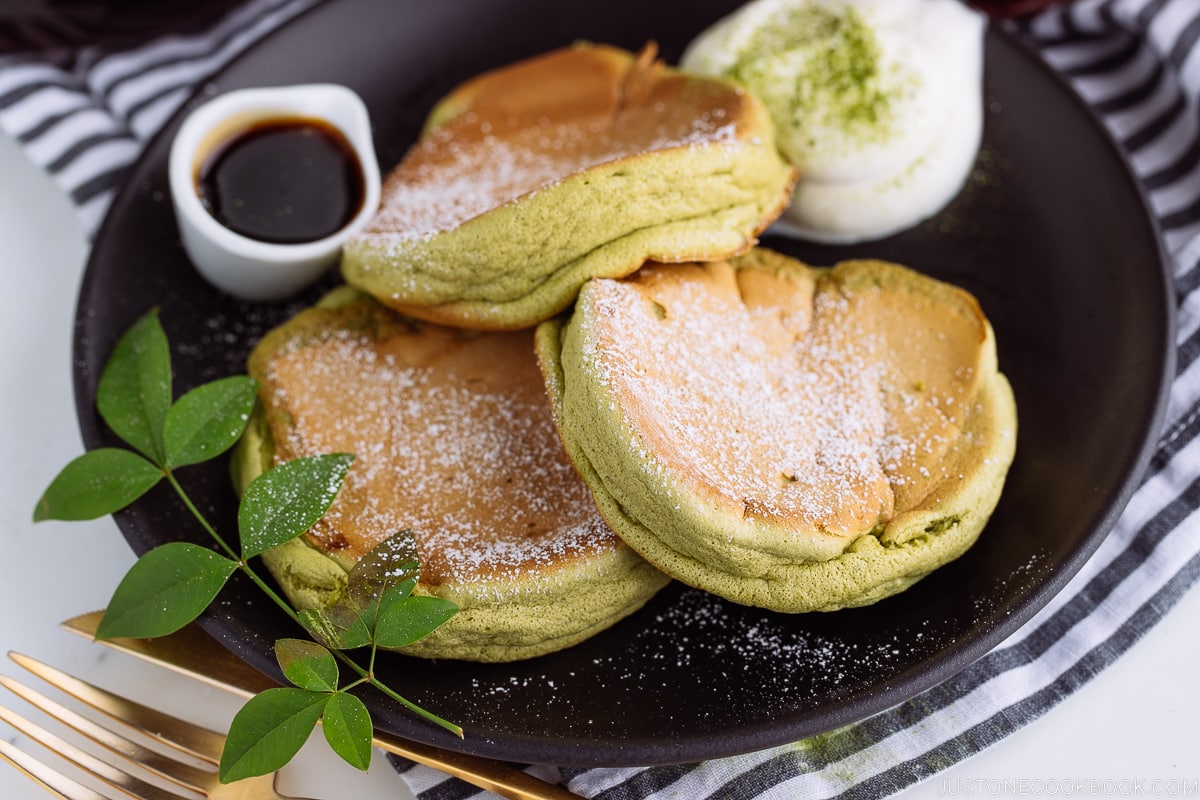
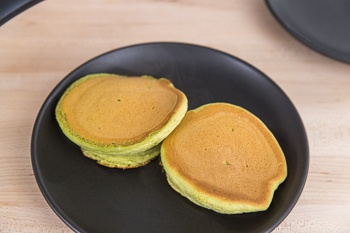
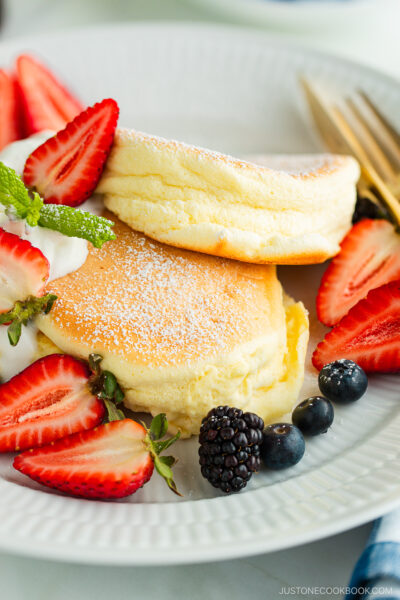
Are you ready for the dreamiest pancakes for your Sunday brunch? These perfectly scented Matcha Soufflé Pancakes are calling. They’re super airy and fluffy like you’re eating cottony clouds with a special touch of Japanese flavor! Top them with homemade whipped cream, maple syrup, and an extra sprinkling of green tea powder.
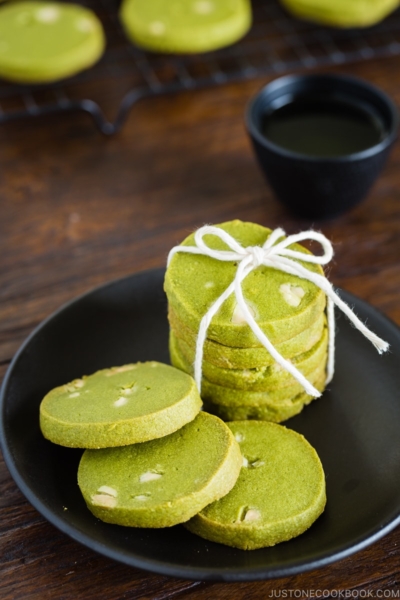
When I was testing the recipe for Japanese Souffle Pancakes, I already couldn’t wait to make Matcha Souffle Pancakes (抹茶パンケーキ). Clearly, I have a long-time obsession with matcha. It makes me happy that I get to share this passion with you on Just One Cookbook. If you’re also a big fan of this green tea powder, you have to try out these matcha recipes.
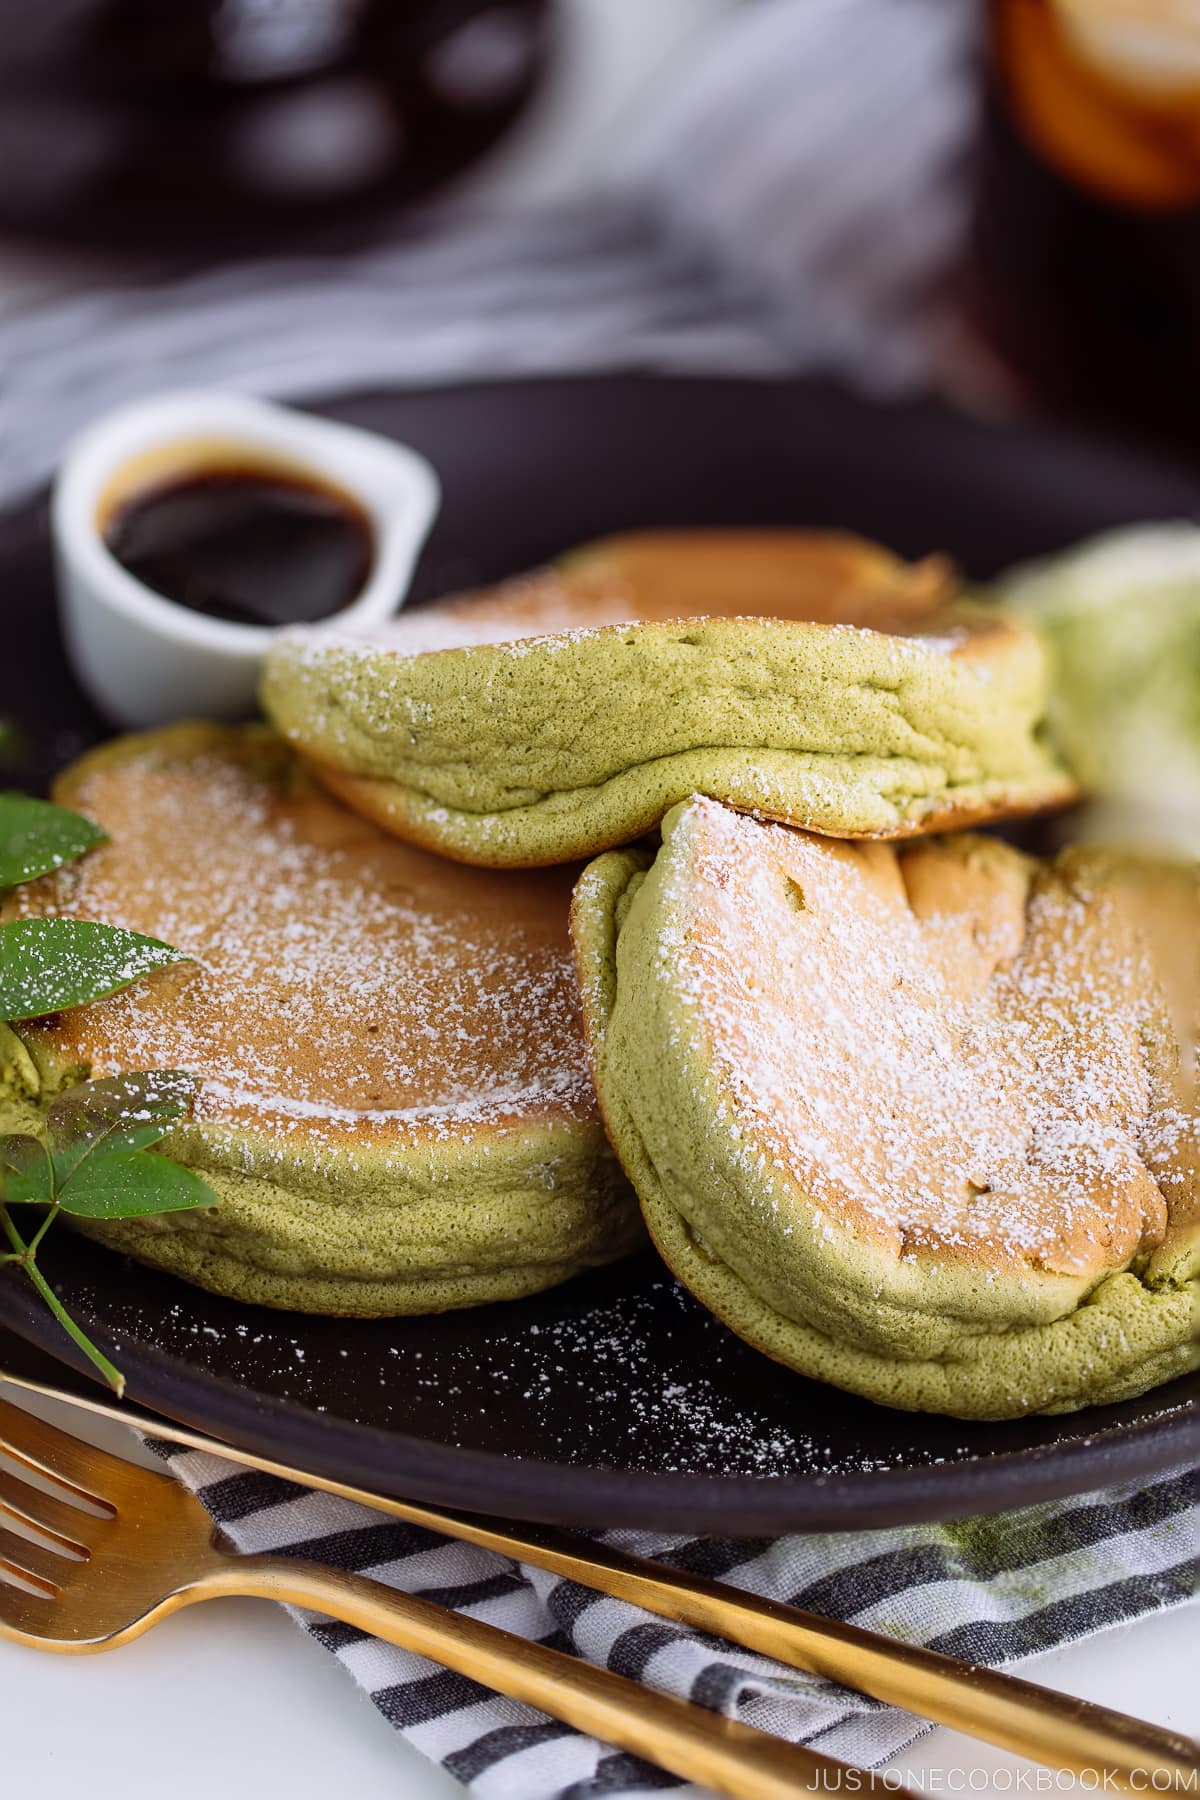
Today’s recipe is another one to love where I took a step further by favoring the original souffle pancakes with matcha to give it a brilliant green hue that stands out and a flavor boost that you can’t stop eating.
What Are Matcha Souffle Pancakes?
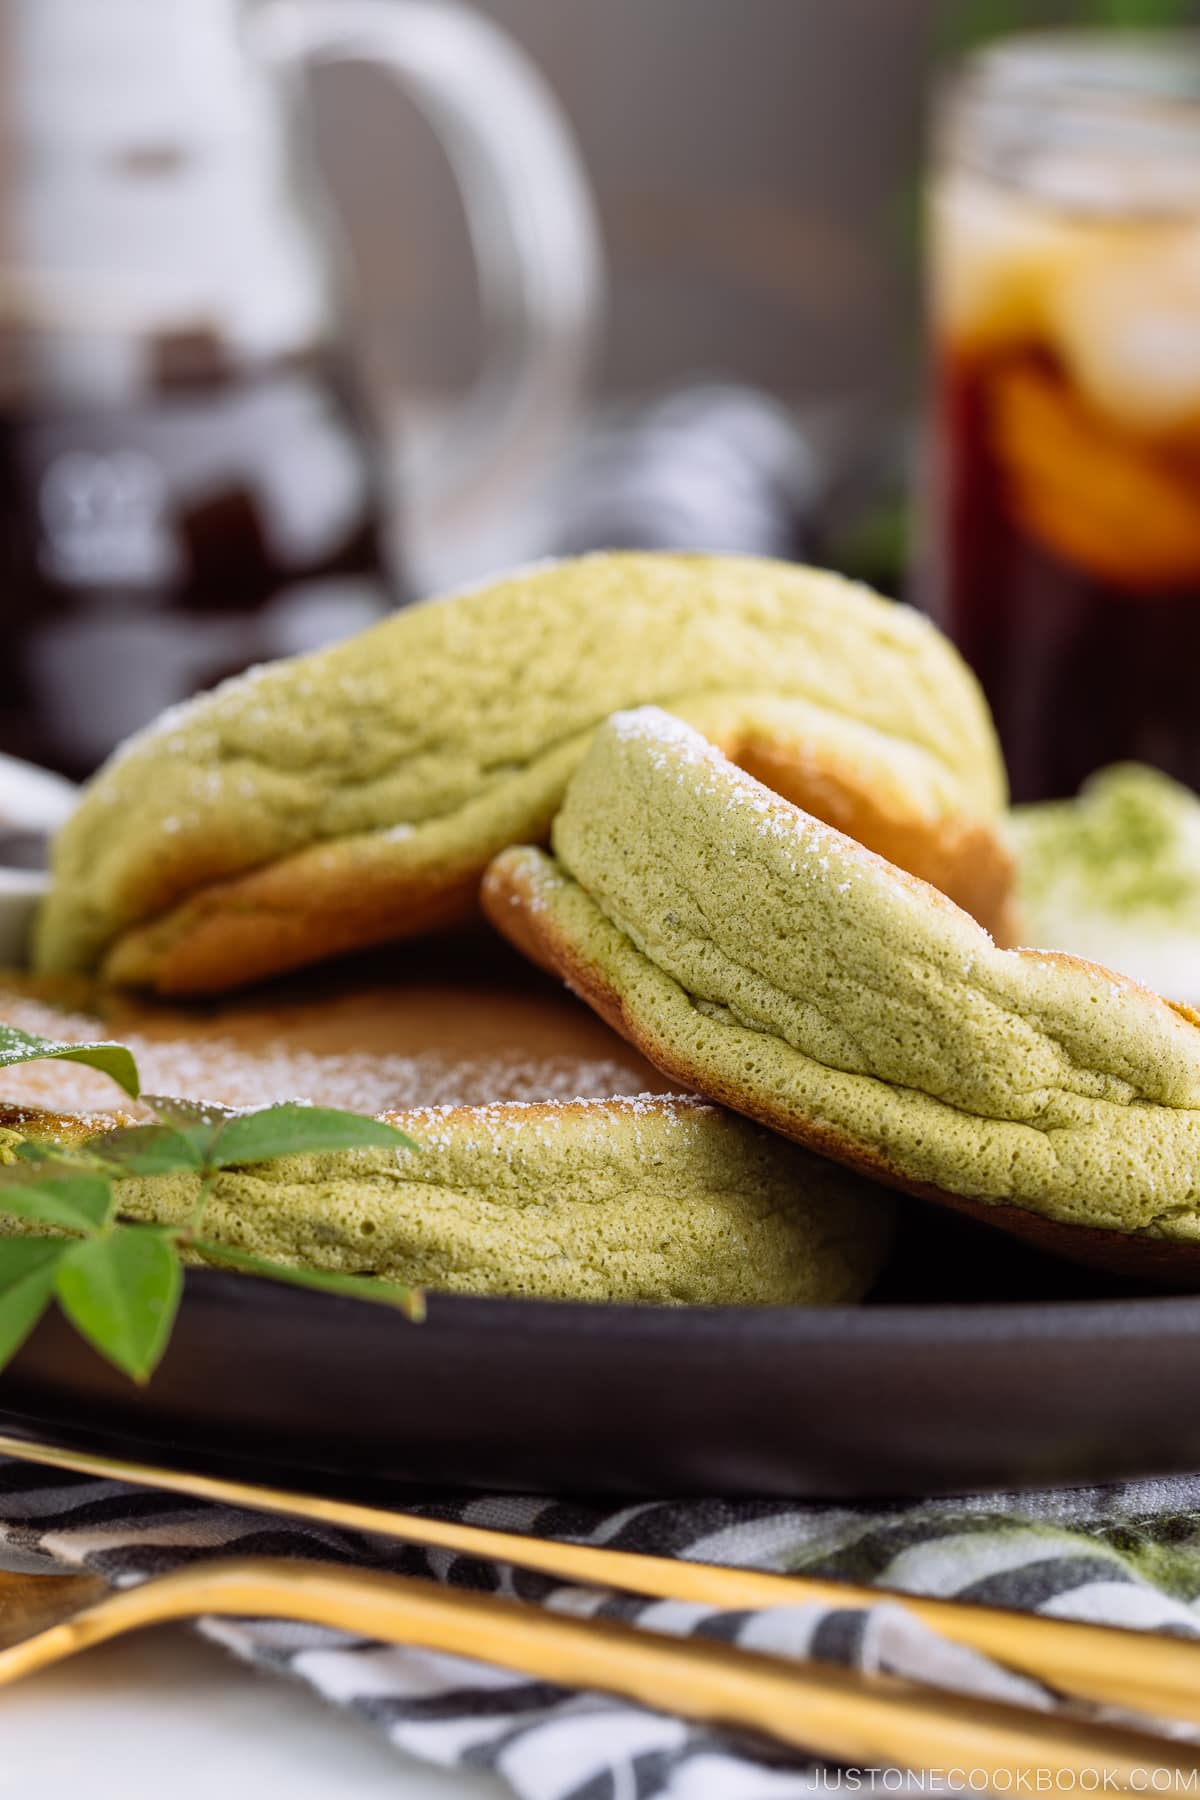
Matcha is powdered green tea (or green tea powder) and souffle pancakes are fluffy, airy, and pillowy pancakes that are thicker than ordinary pancakes.
With an earthy, slightly bitter, and distinctly vanilla-like flavor, matcha can do wonders when incorporated into desserts and baked goods. Thanks to the complexity of matcha, you will find these souffle pancakes carry a wonderful depth and a subtle touch of savoriness in its sweet flavor.
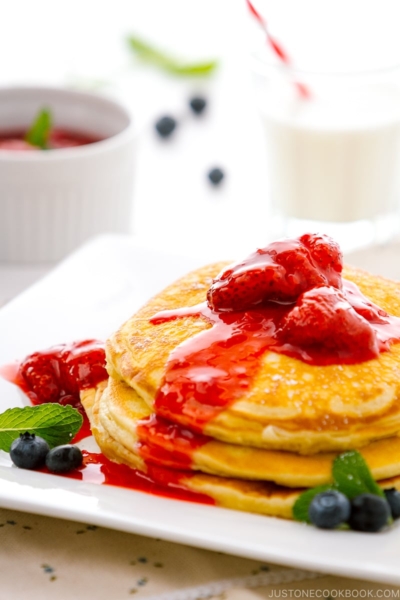
What’s the Difference between Souffle Pancakes and Regular Pancakes?
The ingredients for souffle pancakes are similar to regular pancakes, so what makes them different?
Souffle pancakes are all about eggs. Egg yolks and egg whites are separated, and the whites are beaten to make meringue. Just like how you would make savory/sweet souffle or chiffon cakes. The egg whites are beaten until stiff peaks form and then are folded gently and carefully into the rest of the batter.

The souffle pancakes are extra fluffy because those air bubbles trapped in the egg whites expand, making the souffle rise and hold their shape from collapsing. As a result, the pancakes are super airy, like souffle. When you cut the pancakes, you can even hear the sound of air bubbles escaping!
Frankly speaking, making souffle pancakes may not be as simple and easy as making regular pancakes. To make that fluffy and airy texture, souffle pancakes require meringue in the batter. If you don’t make dessert often, making meringue might be a bit of a challenging task. But with practice, you will know when to stop beating egg whites.
My Favorite: Super-Fine Unbleached Cake Flour from Bob’s Red Mill®
This post was sponsored by Bob’s Red Mill®. I couldn’t be any more thrilled when I get to work with Bob’s Red Mill® to develop this Matcha Souffle Pancake recipe.
When comes to baking and breakfast products, I highly recommend Bob’s Red Mill®. Have you tried any of their flours or other products before? What I genuinely admire about the company is that they use honest ingredients and methods for their wide range of products, which I think it’s important for consumers.
As an employee-owned company, Bob’s Red Mill® uses high-quality whole grains to satisfy all vegan, paleo, and gluten-free friendly cooking and baking needs. From almond flour, cake mixes, and coconut flour to various grains, it offers the largest lines of organic, whole-grain foods in the country. You can be assured that all of its products are certified Kosher and made with ingredients grown from non-GMO seeds. If you’re curious, you can go to the website and learn more about the founder, Bob Moore, and his mission too.
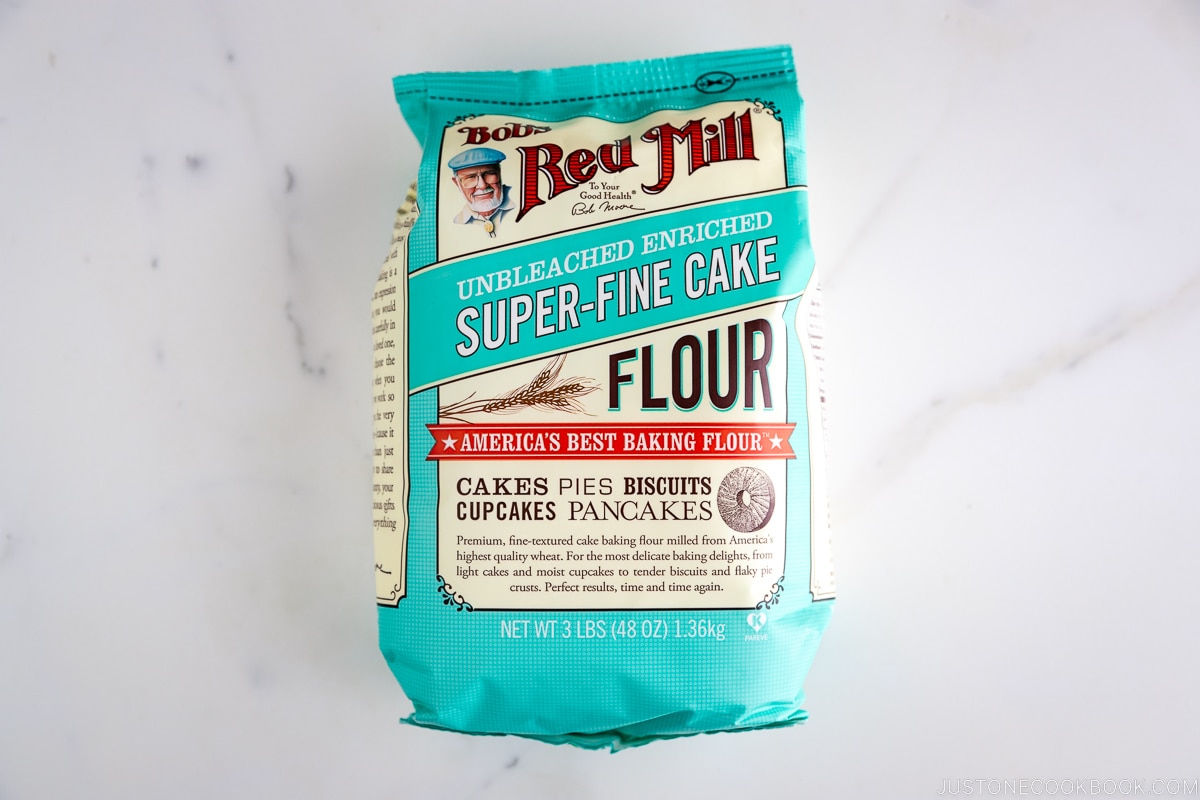
To achieve the perfect light texture for the souffle pancakes, I used Super-Fine Unbleached Cake Flour from Bob’s Red Mill®. Because it is sifted to a very fine texture, the cake flour is fantastic for all sorts of cakes – especially delicate ones like souffle pancakes. You should be able to find the cake flour at any major grocery store. Alternatively, you can also buy it on Amazon.
Find Matcha for Matcha Souffle Pancakes
As matcha becomes a mainstream beverage outside of Japan, you’ll find countless varieties and brands of matcha out there. So I want to share my favorite brand of matcha powder (the most popular question!) and tips on how to get good quality matcha powder.
I always love Ippodo Tea (一保堂) and used to bring back their tea from Japan whenever I go back. Now, they have a store in NYC and you can also purchase their tea on Amazon!
You can also find a small tin or bag of matcha powder imported from Japan at Japanese grocery stores like Mitsuwa, Marukai, and Nijiya, or local tea shops. It might be difficult to find matcha in Asian grocery stores (Chinese, Korean, etc).
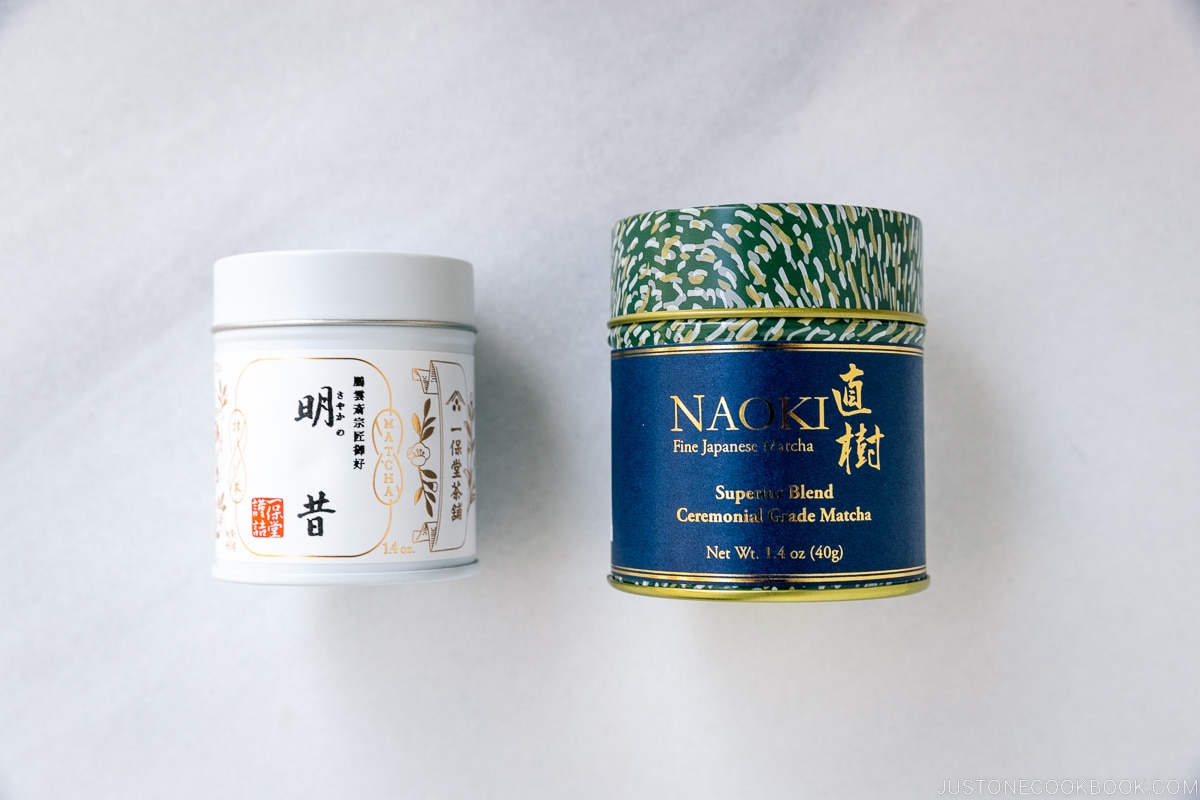
When you buy matcha, make sure they are pure 100% matcha, not containing sugar or other ingredients. When you purchase matcha powder, I strongly recommend getting a small tin, about 20-40 grams (0.7-1.4 oz), and do not buy a big value pack. You will have to use it up within 2-3 weeks of opening the package. I don’t recommend buying a huge package as it oxidizes quickly once opened and will lose that vibrant color and flavor. Even high-quality matcha will become dull with time, so consume it quickly.
Wish to learn more about Japanese cooking? Sign up for our free newsletter to receive cooking tips & recipe updates! And stay in touch with me on Facebook, Pinterest, YouTube, and Instagram.
Matcha Soufflé Pancakes
Ingredients
- 2 large eggs (50 g each w/o shell)
- 2 Tbsp whole milk
- ¼ tsp pure vanilla extract
- 30 g cake flour (¼ cup minus 1 tsp; weigh your flour or use the “fluff and sprinkle“ method and level it off; you can make your own Homemade Cake Flour)
- 1 tsp matcha (green tea powder) (1 tsp matcha is 2 g)
- ½ tsp baking powder (1 tsp baking powder is 2 g)
- 2 Tbsp sugar
- 1 Tbsp neutral oil
- 2 Tbsp water (for steaming)
For the Fresh Whipped Cream (optional)
- ½ cup heavy (whipping) cream
- 1½ Tbsp sugar
For the Toppings
- 1 Tbsp confectioners’ sugar
- maple syrup
- fresh berries (strawberries, blueberries, etc.; optional)
Instructions
- Before You Start: I highly encourage you to weigh your ingredients using a kitchen scale for this recipe. Click on the “Metric” button at the top of the recipe to convert the ingredient measurements to metric. If you‘re using a cup measurement, please follow the “fluff and sprinkle“ method: Fluff your flour with a spoon, sprinkle the flour into your measuring cup, and level it off. Otherwise, you may scoop more flour than you need.
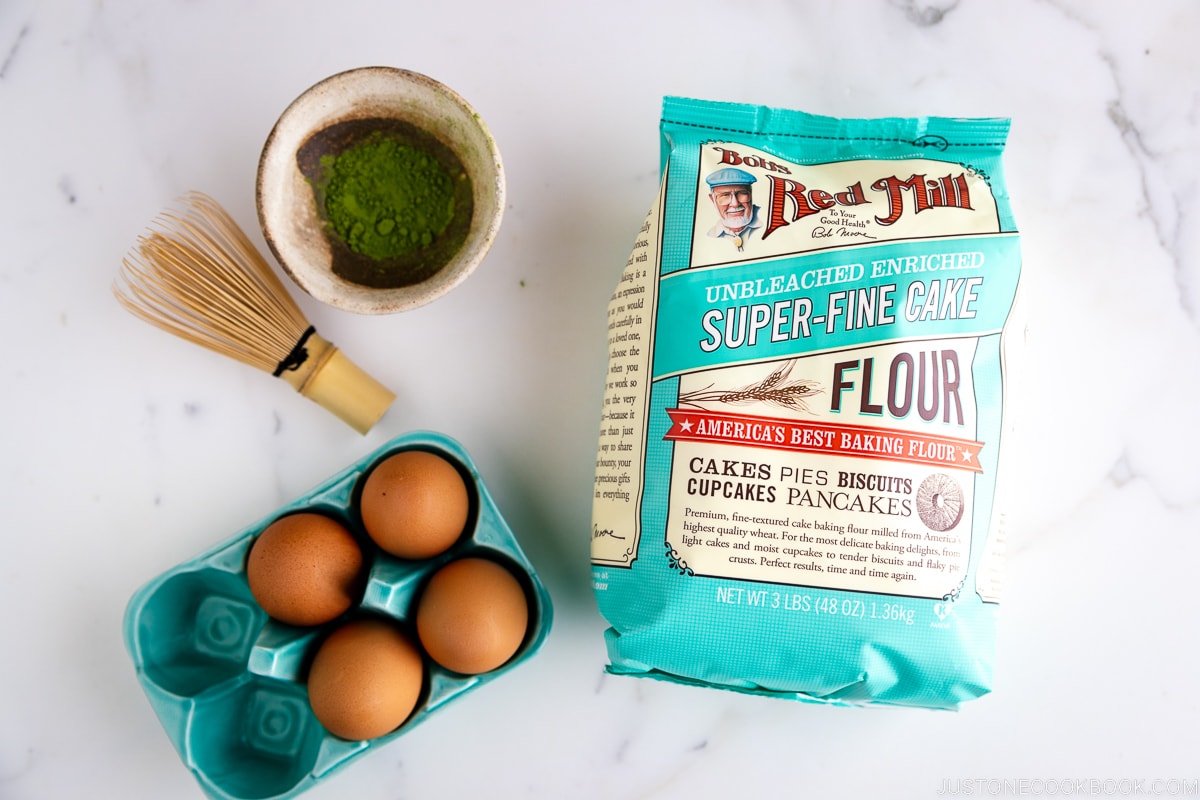
- Gather all the ingredients. You will need a 12-inch nonstick frying pan (large enough to cook 3 pancakes at the same time) with a lid. It’s also nice to have an infrared thermometer gun to check the temperature of the frying pan.

To Make the Fresh Whipped Cream (optional)
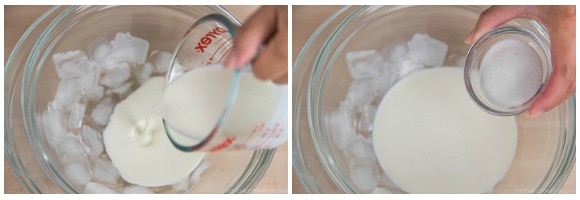
- If you’d like to serve the Matcha Soufflé Pancakes with fresh whipped cream (optional), make it now. First, prepare an ice bath: Put ice cubes and water in a large bowl and place a clean and dry medium bowl on top of the ice water. Then, add ½ cup heavy (whipping) cream and 1½ Tbsp sugar to the medium bowl to keep them cold.
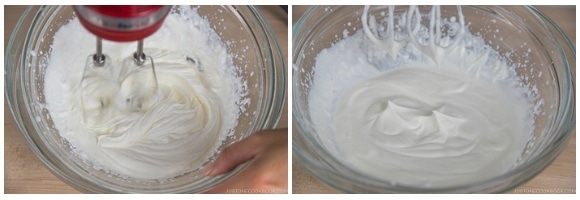
- Whisk on high speed until medium to firm peaks form. The cream should not be runny but soft, fluffy, and firm instead. Keep the whipped cream chilled until you‘re ready to serve the pancakes.
To Mix the Batter
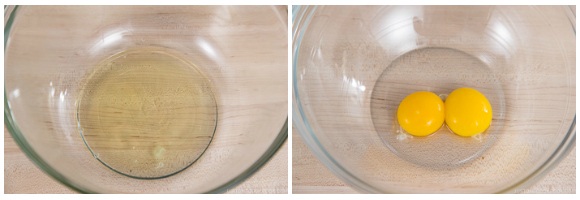
- Separate the egg whites and egg yolks from 2 large eggs (50 g each w/o shell) into two different bowls. Put the bowl with the egg whites in the freezer for 15 minutes. Why do we partially freeze the egg whites? Please read my post 2 Tips to Make Perfect Meringue (Egg Whites).
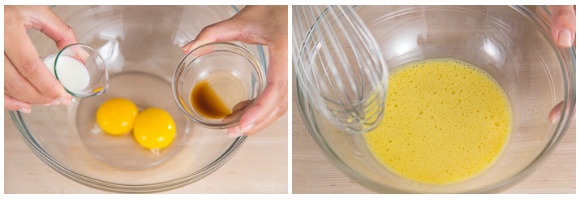
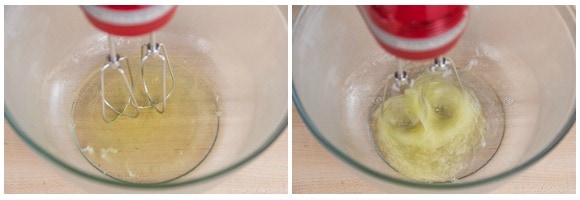
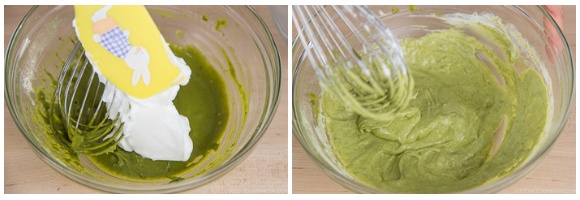
- Start mixing the batter. Add 2 Tbsp whole milk and ¼ tsp pure vanilla extract to the egg yolks and whisk using a hand whisk until thick and frothy.
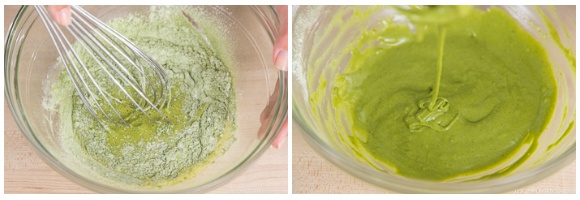
- Sift 30 g cake flour (¼ cup minus 1 tsp), 1 tsp matcha (green tea powder), and ½ tsp baking powder into the bowl.
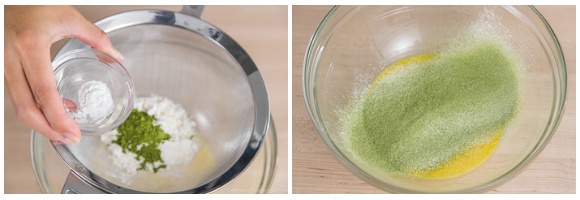
- Whisk to combine thoroughly; do not overmix. Set aside while you make the meringue.
To Make the Meringue
- After 15 minutes, take out the bowl with egg whites from the freezer. The egg whites should be half frozen. With an electric hand mixer or stand mixer with a whisk attachment, start beating the egg whites on medium-low speed (Speed 4 on a KitchenAid stand mixer).
- When the egg whites turn frothy and opaque, gradually add in one-third of the 2 Tbsp sugar at a time. Then, increase the mixer speed to high (Speed 10) and beat vigorously until stiff peaks form (see the next step for how to check). It takes about 2 minutes of beating at high speed to reach stiff peaks. Tip: When using a stand mixer, I usually pause beating when the meringue is almost done. Take off the whisk attachment from the mixer and use it to hand-mix the looser egg whites near the bowl‘s edge into the stiffer whites near the center until it's all homogenous in texture. Then, put the whisk back on and continue beating.
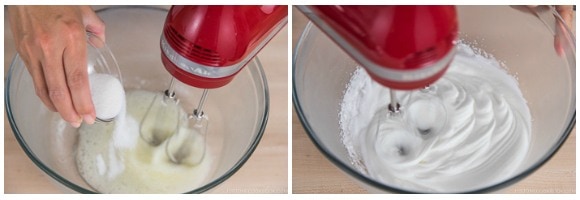
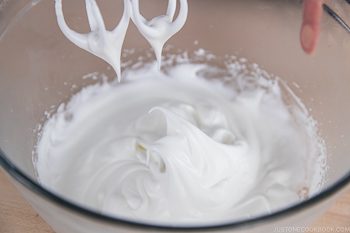
- To check for stiff peaks, stop whisking and pull up your beaters or whisk. The meringue in the bowl or on the whisk should be firm enough to hold a peak, pointing straight up (or maybe folding over a little bit just at the very tips). By this time, the meringue should have a glossy texture, too. Tip: If you overbeat the meringue, it will become very stiff and grainy and won't incorporate into the batter at all.
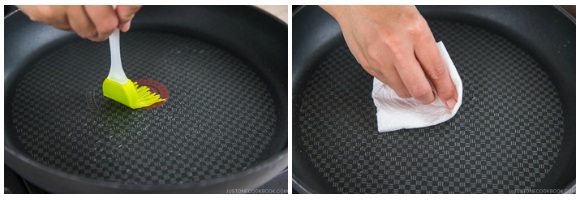
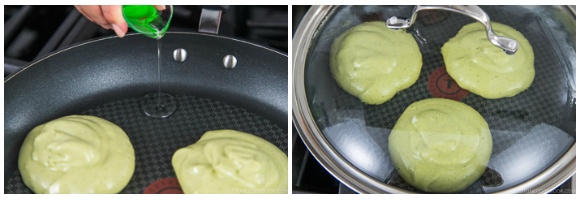
- Heat the large nonstick frying pan to 300ºF (150ºC) over the lowest heat. Brush with some of the 1 Tbsp neutral oil and lightly remove any visible oil with a paper towel (otherwise the pancakes will have a spotty pattern). Keep the pan on low heat while you combine the meringue with the egg yolk mixture.
To Fold In the Meringue
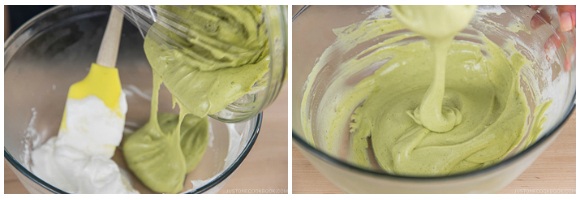
- Take one-third of the meringue and add to the egg yolk mixture. Whisk together (don’t worry too much about breaking air bubbles at this point).
- Next, take half of the remaining meringue and add to the egg yolk mixture. Using a hand whisk, gently fold them in without breaking the air bubbles in the egg whites. Why do we use a whisk instead of a silicone spatula? Please read my post 2 Tips to Make Perfect Meringue (Egg Whites).

- Now, transfer the egg yolk mixture back into the bowl with the remaining meringue. Very gently fold the two mixtures together, taking care not to deflate the air bubbles in the meringue and batter as you fold. Mix the batter very gently until well combined and homogenous.
To Cook the Pancakes
- Keep your frying pan heated to 300ºF (150ºC) at all times over low heat. Remember, each pancake gets roughly four small scoops of batter, and you will be making three pancakes in the pan at once. Using a small ladle or a serving spoon (that’s bigger than a regular spoon—about 2–3 Tbsp), place one scoop of batter in a tall mound in the frying pan. Next, stack one more scoop of batter onto the first scoop already in the pan. Repeat for the next two pancakes, giving each pancake two scoops of batter.
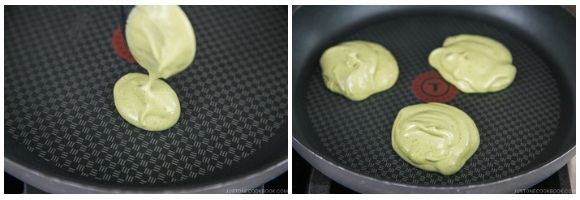
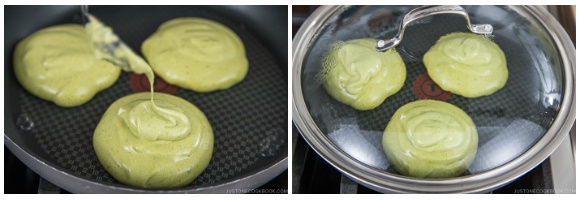
- By the time all three pancakes have two scoops, the surface of the batter is slightly dry already. At this point, you can mound a third scoop on top of each pancake, keeping the batter piled up high. In the bowl, you should still have roughly three scoops left (if you have slightly more, that’s okay).
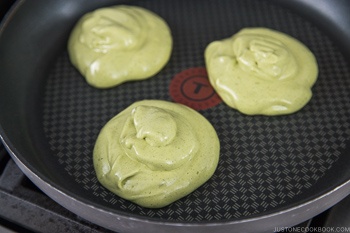
- Set the timer for 6–7 minutes. Distribute 1 Tbsp water to three empty spaces on the pan and cover with the lid. The steam from the water keeps the pancakes moist while they cook. Tip: The suggested time is just a guideline; how long you will cook the pancakes is based on the temperature of the frying pan.
- After 2 minutes have passed, open the lid and add one final scoop for each pancake (or more scoops if you have more batter). Make sure to stack the batter high, not wide. If the water has evaporated, add a little bit more. Cover with the lid and cook.
- After 6–7 minutes have passed, lift the pancake VERY GENTLY using an offset spatula. If the pancake is stuck, don’t touch it until it firms up a little. If you force it, the pancake will crack in the middle. When the pancake is ready to flip, you can easily move the pancake. Slightly pull the pancake toward you to create an empty space in the pan and gently flip it over with a “rolling over” motion.
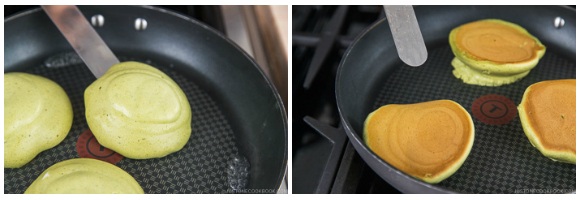
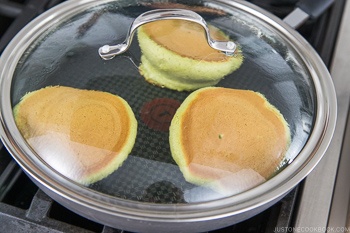
- Add another 1 Tbsp water to the empty spaces on the pan and cover. Set the timer for 4 to 5 minutes to cook the other side on the lowest heat setting.
To Serve
- Once they are nicely browned, transfer the pancakes to your serving plates. Top the pancakes with the optional fresh whipped cream and fresh berries. Dust with 1 Tbsp confectioners’ sugar and a light sprinkling of matcha powder. Drizzle with maple syrup. Enjoy!
To Store
- For the fluffiest texture, I recommend making Matcha Soufflé Pancakes just before serving. If you have leftovers, transfer them to an airtight container and store in the refrigerator for up to 2 days.
Notes
- Soufflé pancakes can be tricky to make (probably not easy for a beginner cook), so make sure to read my tips in the post thoroughly before you start cooking.
- Beat your egg whites correctly. Underbeating or overbeating will cause the pancakes to deflate after cooking.
- Cook over low heat, and make sure the insides of the pancakes are properly cooked through. If the inside is not cooked through, there is no structure to hold up the pancakes and they will collapse as soon as the temperature drops.


Really loving how easy this recipe is! My second time making it and it came out even better than the first time. So delicious! Thank you for the amazing recipe and the clear instructions!
Hi Yan! Wow! Perfect! Thank you so much for trying Nami’s recipe and sharing your results with us.
Happy Cooking! 🥰
So delicious and easy to make. I added less layers for a shorter cooking time. Still very fluffy, light and delicious. Thanks!
Hello, Yan. Wow! 🤩 Thank you so much for sharing your pancake images! It looks very amazing!
We are pleased to see your results. Happy cooking!
Made this delicious recipe yesterday and it came out amazing. My family loved it! Thanks for the easy to follow instructions! Will definitely make it again.
Hi Yan! We are so happy to hear your family loved Nami’s recipe!
Thank you very much for trying and for your kind feedback. ☺️
Will this work with gluten free flour?
Hello, Aave. Thank you so much for reading Nami’s post.
We hear that some readers successfully made regular souffle pancakes using gluten-free flour. But we’re not sure about this one.
If you attempt it, please let us know how it goes!
I have made them today and although they were quite fluffy in the pan, they deflated when I took them out. Any tips to keep them fluffy? Also, would this recipe work with less sugar?
Hello, Valentina. Sorry for the delayed response! 😖
Please refer to Nami’s blog for tips on how to keep the pancakes fluffy. “Why Do My Soufflé Pancake Deflate? “Troubleshooting” We hope this helps! 🫶🏻https://www.justonecookbook.com/souffle-pancake/
This was my first try with this recipe. I LOVE IT!! My pancakes shrinked when I lifted the lid up, so I think next time I’m going to use less water or not at all. Taste was great and I still could hear a little crunch <3
Recipe is much less complicated than it seems to be, so I definitely give it a try!
Hi Ula! We are so happy to hear you loved the souffle pancake!
Thank you so much for trying Nami’s recipe and sharing your pancake photo with us!
Very tasty recipe! The instructions were very thorough and clear too, which I appreciated. My pancakes didn’t puff up quite as much as I wanted (I think I accidentally deflated the air too much while mixing) but they were still much fluffier than regular pancakes and very delicious. It was a fun process nonetheless and I’ll try again and see if I can get it right!
Hi Macy! Your Souffle pancakes look great!
Thank you very much for trying Nami’s recipe and sharing the photo with us! 🤗
Thanks for this great recipe. Easy to follow and just need a little practice to get the height.
Hi A L! Wow! Your Matcha Souffle Pancakes turned out beautifully!
Thank you for trying Nami’s recipe and sending us the photo.🤗
Hello from Ohio! My husband and I just started watching The Makanai recently, and we really love it., so I was delighted to find your article with all the recipes from the show. We were especially intrigued by these fluffy pancakes, and I happened to be planning a trip to SF to visit our daughter, so I made sure to go to Gram Café and try them. Then I went home and tried your recipe. Huge success! I’m so happy to have found your blog. I’ll be trying a lot more of your recipes from now on!
Hi Beth! Aww.🥰 Nami and all of us at JOC are so happy to hear you enjoyed the recipe.
Thank you so much for taking the time to read Nami’s post and try her recipe.
We hope you continue to enjoy cooking with us. Happy Cooking!